Objective
The main objective of this blog post is to give you an idea about to Create and Optimize on head health bars in your games (especially 3rd person games).
This blog post is part of our ongoing Latest Optimization Initiative for Unity Games.
If you would like to learn how to optimize your games, you can check out this blog post:
Health Bars? Is it really that big of a deal?
You might think it’s just a filled image.
How can that put you in any kind of trouble?
Well, trust me on this one.. In 3rd person games, these health bars (on characters) if not dealt properly can cost you minimum of 15-20 fps !!
Just a few 50 such health bar images can drag down your game for good.
Ideal example where health bars are used would be Age Of Empires (screen shown below).
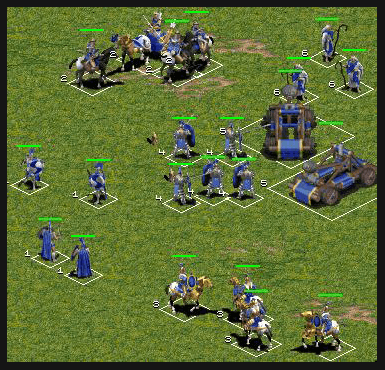
Now let us understand our case in Unity terms.
How would you handle this case?
How will you place health bars in a 3D world?
I am sure more than half of you would come up a same common idea “It's easy, add world space canvas for each character, simple as that!”.
Easy? Think again!
I must say that you are right on the easy part. But well is that easy part really worth compromising on 10-15 fps of your game? NO?
Let us understand this case with an example and then finally discuss the ideal solution.
CASE TEST 1
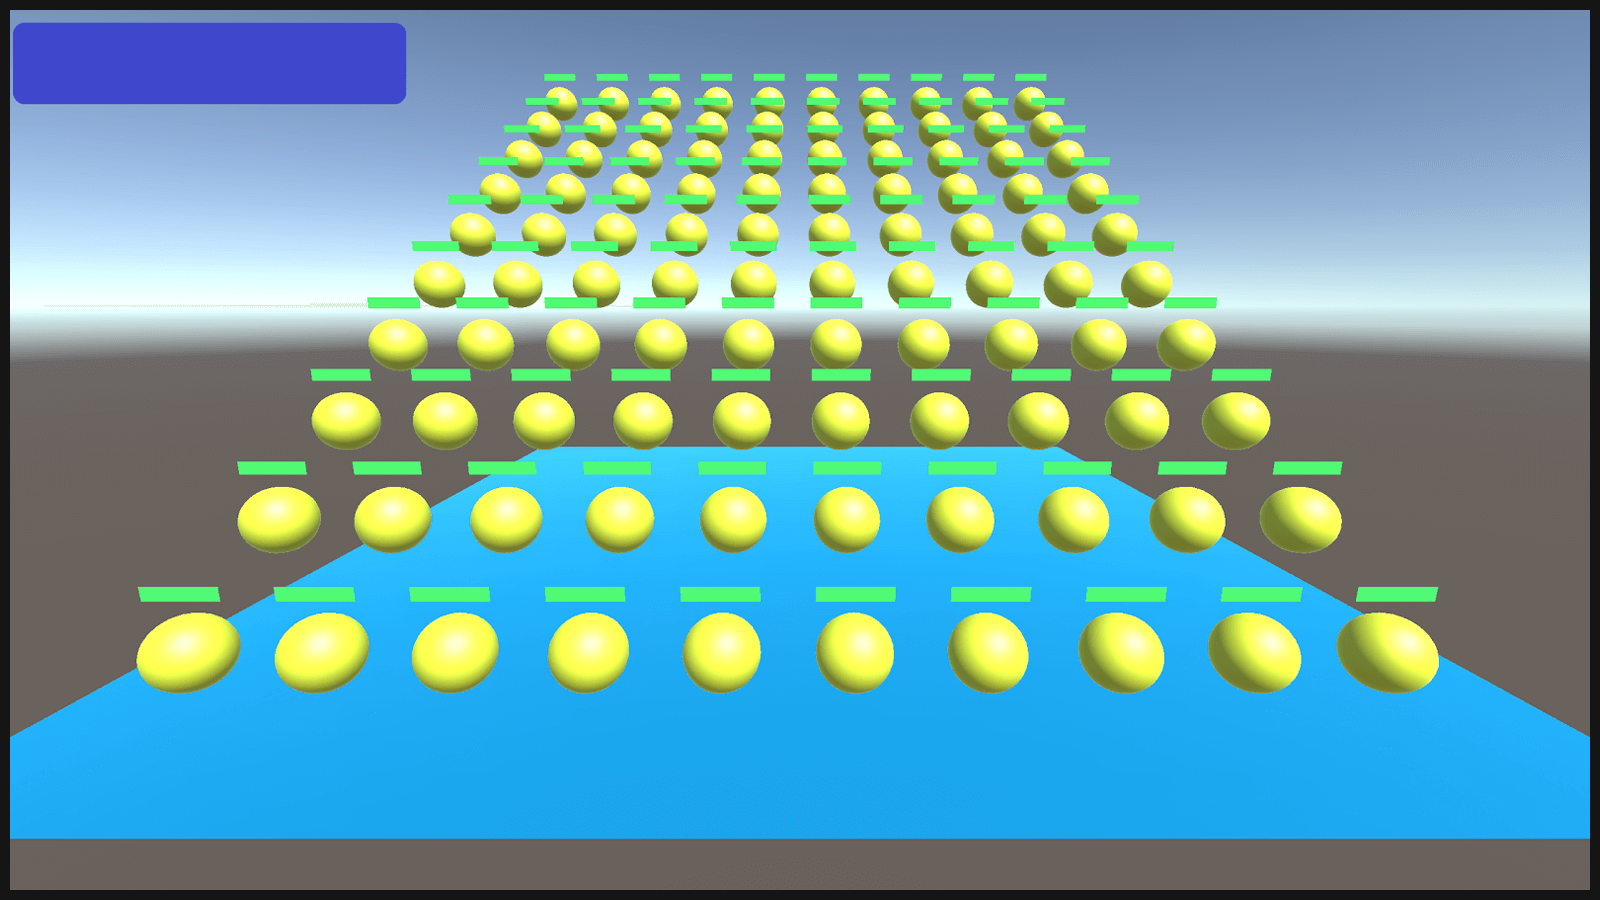
Let us generate 100 characters. (spheres in my case)
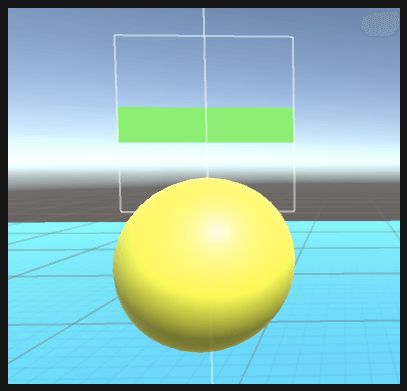
Create character prefab with a world canvas as its child (arrange the canvas as you like, this canvas will also have a health bar image)
The image below shows the same:
Here I have one PlayerGenerate.cs Script, that generates players
using UnityEngine;
using System.Collections;

public class PlayerGenerator : MonoBehaviour {

    public GameObject playerPrefab;
    public GameObject healthBarPrefab;

    public Transform playersParent;
    public RectTransform healthPanelRect;

    void Start()
    {
        GeneratePlayers();
    }

    private void GeneratePlayers()
    {
        Vector3 position = new Vector3(3.75f,6.5f,5.0f);
        for (int i = 0; i < 10; i++)
        {
            position -= new Vector3(0,0.6f,0.90f);
            for (int j = 0; j < 10; j++)
            {
                GeneratePlayerAt(position);
                position -= new Vector3(0.85f,0,0);
            }
            position = new Vector3(3.75f,position.y,position.z);
        }
    }

    private void GeneratePlayerAt(Vector3 position)
    {
        GameObject player = Instantiate(playerPrefab, position, Quaternion.identity) as GameObject;
        player.transform.parent = playersParent;
    }
}
Also let us give some small amount of movement to each player as well with following script attached to player prefab.
PlayerMovement.cs
using UnityEngine;
using System.Collections;

public class PlayerMovement : MonoBehaviour {

    public float speed=5;
    public Vector3 direction=new Vector3(0,1,0);
	// Update is called once per frame
	void Update () {
        transform.Translate(direction * speed * Time.deltaTime);
	}
}
To keep track of the fps take one main canvas with FPS script (given below) as well and attach it to a text.
HUDFPS.cs
using UnityEngine;
using System.Collections;
using UnityEngine.UI;
public class HUDFPS : MonoBehaviour
{

    // Attach this to a GUIText to make a frames/second indicator.
    //
    // It calculates frames/second over each updateInterval,
    // so the display doesz not keep changing wildly.
    //
    // It is also fairly accurate at very low FPS counts (<10).
    // We do this not by simply counting frames per interval, but
    // by accumulating FPS for each frame. This way we end up with
    // correct overall FPS even if the interval renders something like
    // 5.5 frames.

    public float updateInterval = 0.5F;
    public Text t;
    private float accum = 0; // FPS accumulated over the interval
    private int frames = 0; // Frames drawn over the interval
    private float timeleft; // Left time for current interval

    void Start()
    {
        if (!GetComponent<Text>())
        {
            Debug.Log("UtilityFramesPerSecond needs a GUIText component!");
            enabled = false;
            return;
        }
        timeleft = updateInterval;
        t = GetComponent<Text>();
    }

    void Update()
    {
        timeleft -= Time.deltaTime;
        accum += Time.timeScale / Time.deltaTime;
        ++frames;

        // Interval ended - update GUI text and start new interval
        if (timeleft <= 0.0)
        {
            // display two fractional digits (f2 format)
            float fps = accum / frames;
            string format = System.String.Format("{0:F2} FPS", fps);
            t.text = format;

            if (fps < 30)
                t.color = Color.yellow;
            else
                if (fps < 10)
                t.color = Color.red;
            else
                t.color = Color.green;
            //DebugConsole.Log(format, level);
            timeleft = updateInterval;
            accum = 0.0F;
            frames = 0;
        }
    }
}
My mobile shows an fps of about 30 FPS. (Sorry for hiding it before :P)
(My mobile model is Moto X Style/Pure just for your configuration reference)
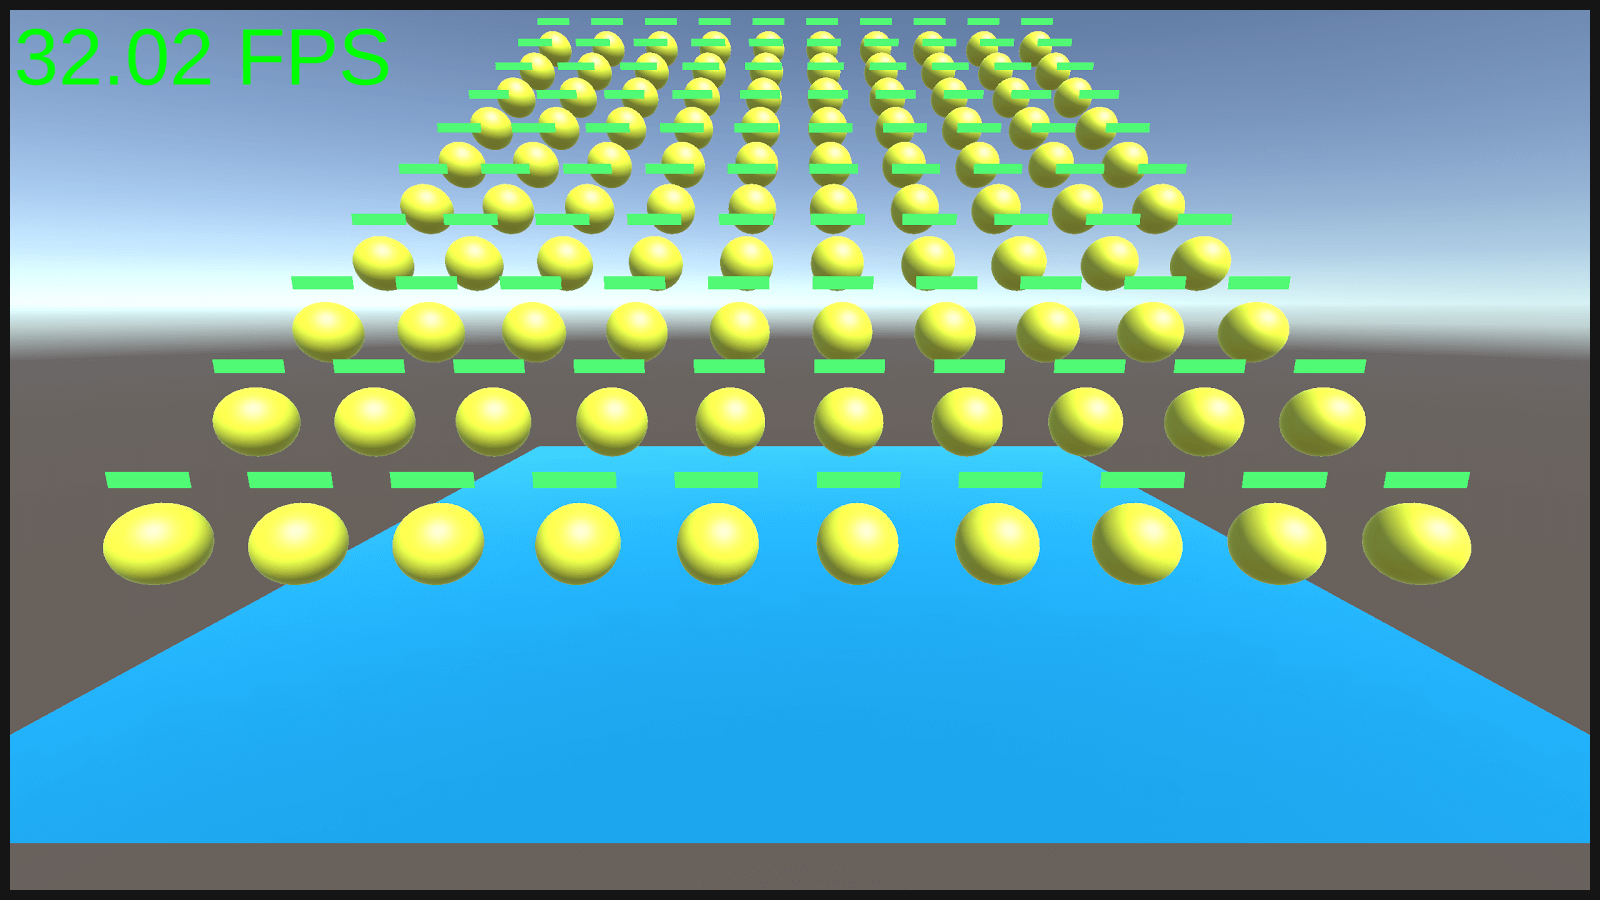
Note
This is development built(Android) and also has some role to play in reducing fps.
Let us have a look at the profiler

Canvas.SendWillRenderCanvases() takes up 14 ms,
Canvas.builtBatch takes 6.76ms,
Canas.Render takes 5.88ms.
(These may come as spikes and not on all frame updates)
So it is very much clear there is something wrong on how we are handling canvas in this case. No I am not the right person to pinpoint the exact reason, we need an inside man from Unity for that ;)
Solution?
How about using a single overlay canvas?
Calculate the position and simply place a health bar image on each character ?
Sounds easy?
Need a few mathematical calculations and its done.
CASE TEST 2
1) Create a health bar prefab with simple image.
2) Now create HealthBar.cs script as shown below and attach it to the prefab
using UnityEngine;
using System.Collections;
using UnityEngine.UI;
public class HealthBar : MonoBehaviour {

    #region PRIVATE_VARIABLES
    private Vector2 positionCorrection = new Vector2(0, 100);
    #endregion

    #region PUBLIC_REFERENCES
    public RectTransform targetCanvas;
    public RectTransform healthBar;
    public Transform objectToFollow;

    #endregion

    #region PUBLIC_METHODS
    public void SetHealthBarData(Transform targetTransform,RectTransform healthBarPanel)
    {
        this.targetCanvas = healthBarPanel;
        healthBar = GetComponent<RectTransform>();
        objectToFollow = targetTransform;
        RepositionHealthBar();
        healthBar.gameObject.SetActive(true);
    }

    public void OnHealthChanged(float healthFill)
    {
        healthBar.GetComponent<Image>().fillAmount = healthFill;
    }
    #endregion

    #region UNITY_CALLBACKS
    void Update()
    {
        RepositionHealthBar();
    }
    #endregion

    #region PRIVATE_METHODS

    private void RepositionHealthBar()
    {
        Vector2 ViewportPosition = Camera.main.WorldToViewportPoint(objectToFollow.position);
        Vector2 WorldObject_ScreenPosition = new Vector2(
        ((ViewportPosition.x * targetCanvas.sizeDelta.x) - (targetCanvas.sizeDelta.x * 0.5f)),
        ((ViewportPosition.y * targetCanvas.sizeDelta.y) - (targetCanvas.sizeDelta.y * 0.5f)));

        //now you can set the position of the ui element
        healthBar.anchoredPosition = WorldObject_ScreenPosition;
    }
    #endregion
}
3) Modify the previous PlayerGenerator.cs script as shown below.
using UnityEngine;
using System.Collections;

public class PlayerGenerator : MonoBehaviour {

    public GameObject playerPrefab;
    public GameObject healthBarPrefab;

    public Transform playersParent;
    public RectTransform healthPanelRect;

    void Start()
    {
        GeneratePlayers();
    }

    private void GeneratePlayers()
    {
        Vector3 position = new Vector3(3.75f,6.5f,5.0f);
        for (int i = 0; i < 10; i++)
        {
            position -= new Vector3(0,0.6f,0.90f);
            for (int j = 0; j < 10; j++)
            {
                GeneratePlayerAt(position);
                position -= new Vector3(0.85f,0,0);
            }
            position = new Vector3(3.75f,position.y,position.z);
        }
    }

    private void GeneratePlayerAt(Vector3 position)
    {
        GameObject player = Instantiate(playerPrefab, position, Quaternion.identity) as GameObject;
        player.transform.parent = playersParent;
    }

    private void GeneratePlayerHealthBar(Transform player)
    {
        GameObject healthBar = Instantiate(healthBarPrefab) as GameObject;
        healthBar.GetComponent<HealthBar>().SetHealthBarData(player, healthPanelRect);
        healthBar.transform.SetParent(healthPanelRect, false);
    }
}
Here what we did was simple, On every generated character, we generate one health bar image that will be placed over the head of the character via its script
If you have any problems understanding the HealthBar.cs script just drop a comment below.
Now lets test it on mobile device.
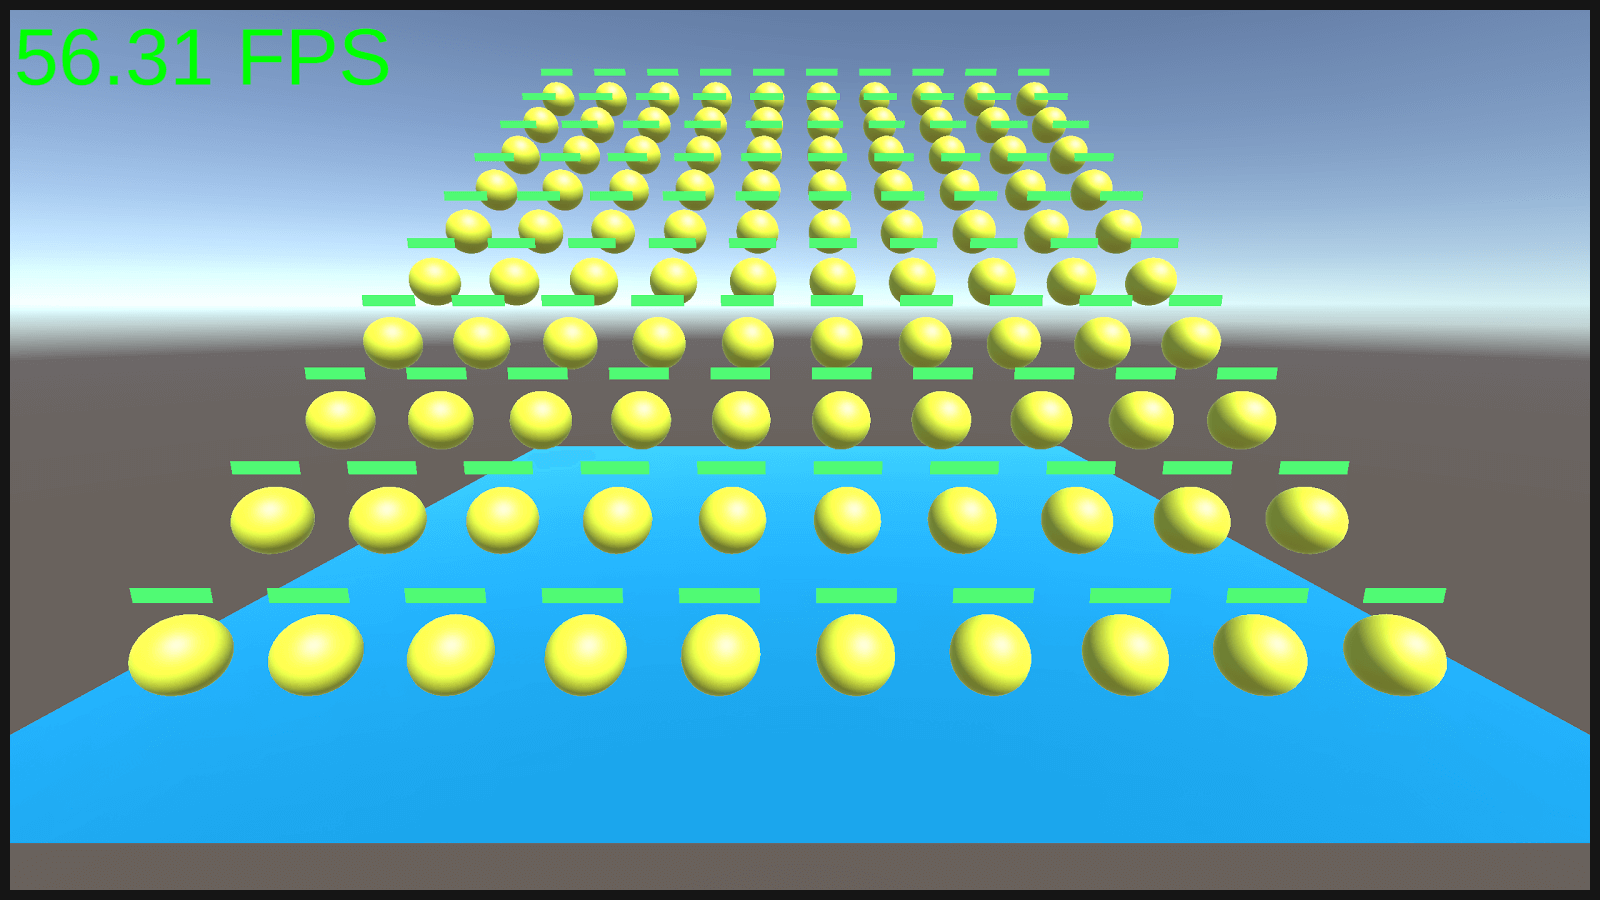
Performance boost of over 20 fps! Super? Outstanding? Mind Blowing?
- Handling small things like health bars properly can do wonders.
- Lets check profiler now.

There is a 2ms of behaviour update for the repositioning calculation. But except that it's all normal !
This is how small things like health bar can also make a big difference in your games.
Small things matter the most!
When multiple small things come together, they can all together pull you down from the road.
Hence here we focus not just on helping you with a solution to your problem, but solve your problem in a best optimized way.
Stay connected and create chart breaking games with us.
If you have any queries regarding this blog, just drop a comment below :D
This blog post is part of our ongoing Latest Optimization Initiative for Unity Games.
If you would like to learn how to optimize your games, you can check out this blog post:
Got an Idea of Game Development? What are you still waiting for? Contact us now and see the Idea live soon. Our company has been named as one of the best Unity 3D Game Development Company in India.

Talented Game Developer as well as a player with a mania for video games and the game industry. Always Ready to take up challenging Projects. Proud to be making with the TheAppGuruz Team
