Objective
Main objective of this blog post is how to create Pixel Art in Photoshop
Step 1 About Pixel Art
Pixel art has picked up after the massive success of Flappy Bird game. As a designer I was quite intrigued about how to make pixel art easily. So after learning how to make pixel art, I have decided to write a blog such that other designers can easily understand how to create pixel art in Photoshop.
So, this Blog is specially posted for the PIXEL Lovers. Rather than just playing with the pixels it feels awesome to create your own pixel art and to see it at work in your games. Being a graphics designer I must have knowledge about all types of graphics and PIXEL art is one of them.
I believe all the ‘80s and ‘90s born are quite aware with this small amazing square. The Japanese multinational companies like "NINTENDO", "Konami" and many more entertained us with their earlier 8-bit graphics game like Super Mario Bros, Duck hunt, Super Contra etcetera.
Step 2 What is Pixel?
The Smallest individual unit of your display is Pixel. Pixels are too easy to understand, but to play with it is little difficult. Creating something with pixel is easy, but make it look live is tricky.
Here, I will give you some easy techniques to create your own pixel art using Photoshop. We will create a pixel character for our demo.
Step 3 Start with Pixel art
Pixels in Action - A Detective
3.1 First comes Drawing!
To get started with pixel art you must be clear with what you want to create. For this blog, I will be creating a pixel character.
We will start with following steps:
1. Before I get started, I prefer to collect 10-20 reference images related to character I want to create.
2. Generally I select the best 2 or 3 references and draw my own character keeping in mind the requirements.
3. First define the body proportion for your character; you may sketch it on paper first to get best result. I always do that.
4. I am going to create a character of a detective over here. I have already drawn the character on paper and then traced it in Photoshop, so the character looks like below image.
![]()
3.2 Preparing Photoshop to help us create awesome Pixels graphics
1. Let’s open the Photoshop and go to
edit menu -> Preferences -> Guides, Grid & Slices…
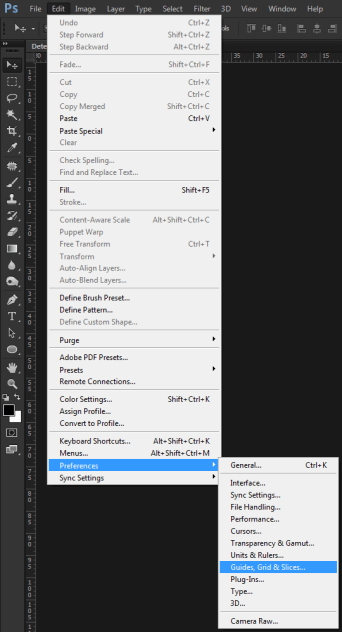
2. Set gridline at every 1 pixel and also subdivision 1 pixel. Keep remaining settings unchanged. This change will help you to draw pixels on document.
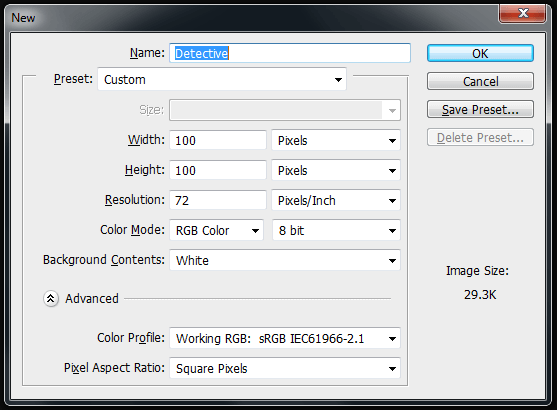
3.3 Create New file of 100 x 100 Pixels
Create new file, set document height and width 100 X 100 pixels.
Remember, while dealing with pixels, your document size matters a lot so always choose doc size wisely depending on the thing you are going to create. As I suggest, keep it as small as possible so that individual pixels can be seen clearly.
Here our document size 100pixels x 100 pixels is enough to create detective character.
3.4 Zoom Till Fit To The Screen
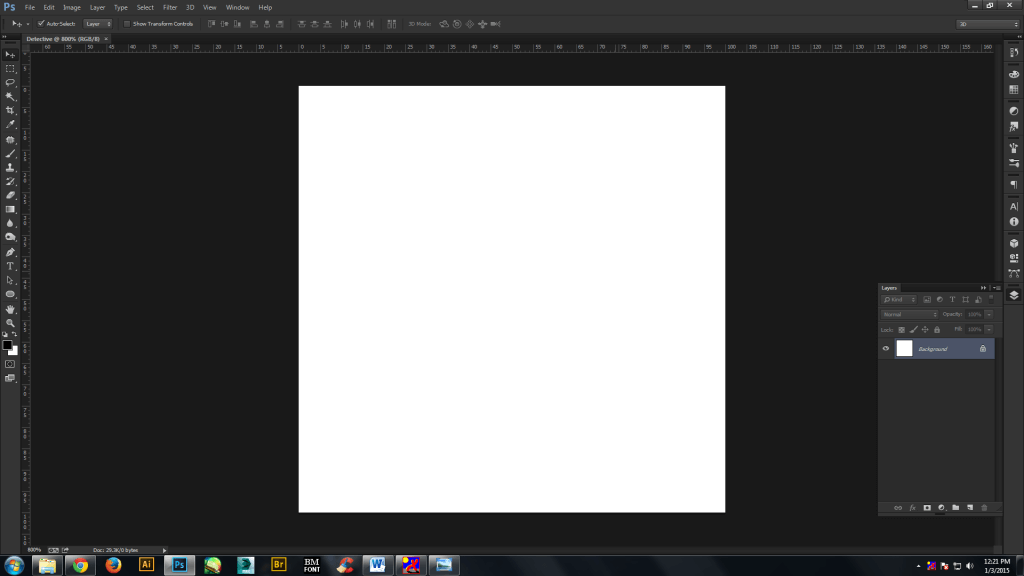
You will notice that our doc size is too small, so now we will zoom in it as much as it fits into screen. I zoom in my doc 800% and it got fit in screen.
3.5 Select Pencil Tool
Long click on Brush tool in tool box and you will get more tools to select.
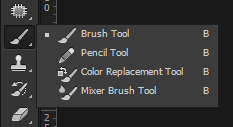
Select Pencil Tool from menu. Reduce Pencil tool size to 1 pixel from Brush selection window. (You can also do it by pressing ‘{’ key in your key board)
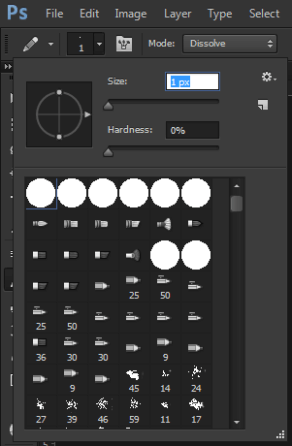
3.6 Turn on Extras
Now turn on Extras, to do this go to view menu - > Extras. (You can do it by pressing Ctrl + H). It will help you to put pixel at particular position.
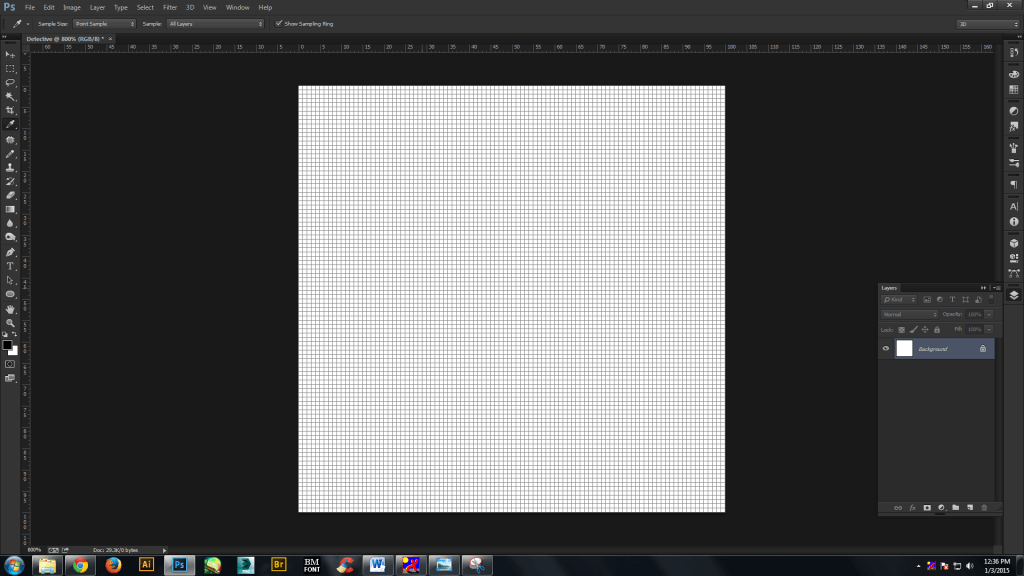
3.7 Take Eraser Tool And Select Pencil in Erase Mode
Select Eraser tool from toolbox and select pencil in erase mode as shown in image. You may need different size of eraser so resize it as per your need.
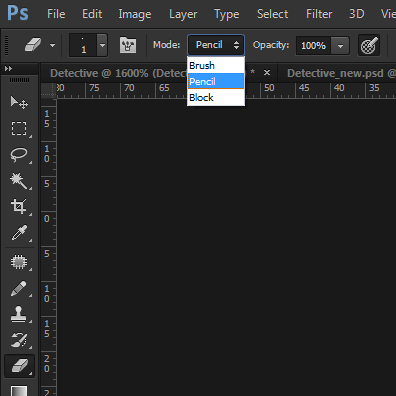
Our basic set up is ready now and we are ready to go!
Step 4 Making The Character
4.1 Drag Your Sketch And Create New Layer
First of all Drag your sketch to Photoshop document and Create new Layer, Put Guide in a center of document (Center of your character) it will help us later.
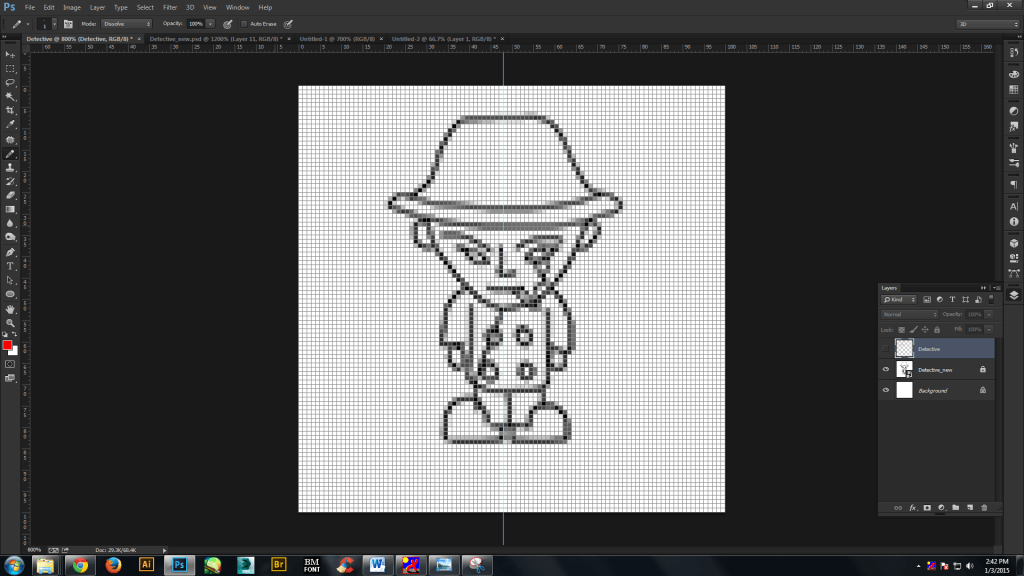
4.2 Start Drawing With Pencil Tool on Half Side
Now start drawing with pencil tool in new layer on existing sketch. Draw only one side of guide. It’s recommended to use full zoom in while drawing pixels and 100% zoom to check your character view.
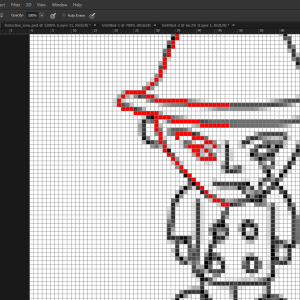
Remember the sketch we are using as reference is not 100% accurate, so don’t follow all the pixels that you see in reference sketch. At this time you need to give the best finishing edges to your character. Use eraser whenever necessary.
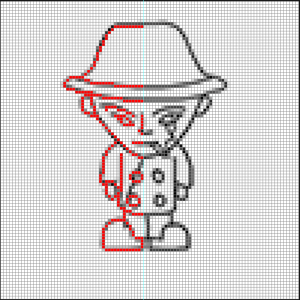
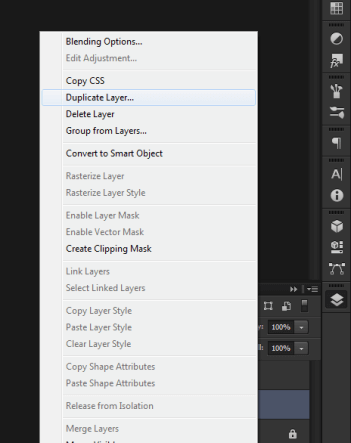
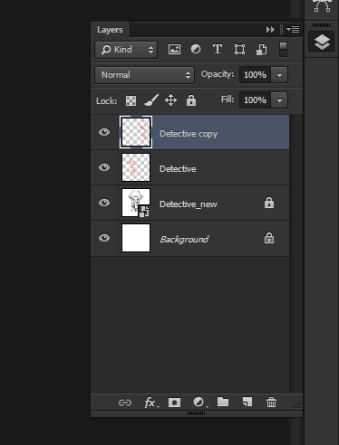
Now Create copy of layer by right clicking on layer and select duplicate Layer (Ctrl + J)
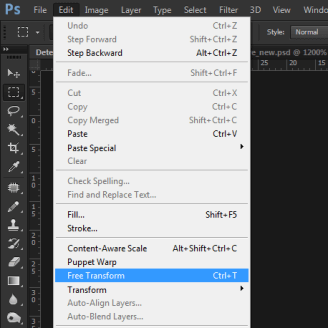
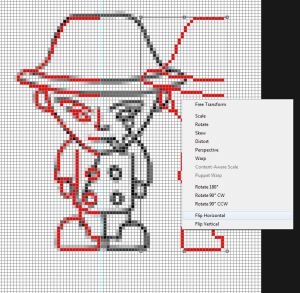
- Select second layer and go to edit menu -> Free Transform. (CTRL + T)
4.3 Copy The Layer and Flip it Horizontally
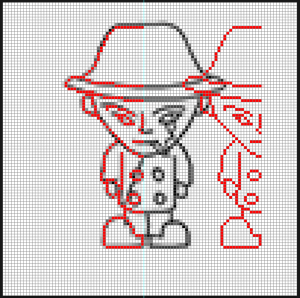
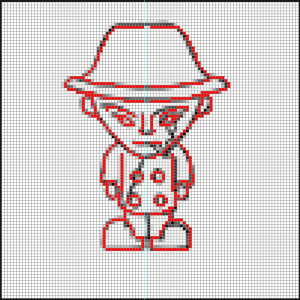
- Flip the second layer and join with first one. To flip right click on layer and select Flip Horizontal. See the bellow ref image.
- In above second image I have put space of two pixels between both layers, it is just to fix the proportion. Fill it with pencil in any layer and merge both layers.
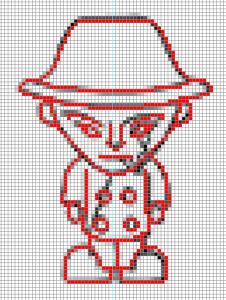
4.4 Merge The Layers
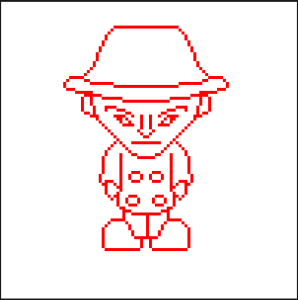
- To merge the layers, select both layers then right click on any on layer and click on “Merge Layers”.
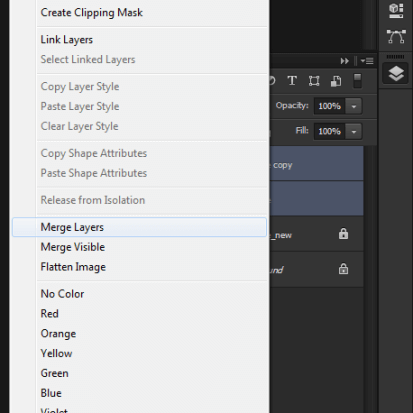
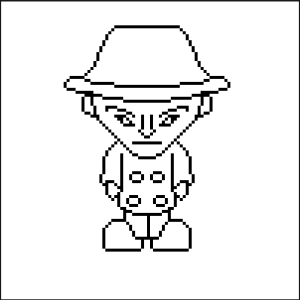
- Hide the reference layer and turn off extras, see the result. Overlay black color on layer. Check out your creation in 100% zoom to see the actual result.
- We are done creating our detective. So now it’s time to fill the colors, for that simply select Paint bucket tool (Press G) and pickup color you want to fill, and fill the portion with it.
4.5 Character After Coloring
My detective looks like below after coloring.
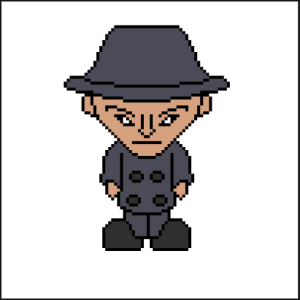
We have made our awesome pixel detective. But the story is not finished yet, we have to add more details to make our character come to life. I’ll talk about those things in my next blog post.
Our final character will look like following image after we give all the detailing.
Step 5 Final Result After Giving Some Details
![]()
I hope you find this blog is very interesting about Pixel Art graphic. Please feel free to contact me if you face any issues or have any questions regarding Pixel Art Graphic comment here and we will help you ASAP.
Got an Idea of Pixel Game Development? What are you still waiting for? Contact us now and see the Idea live soon. Our company has been named as one of the best Game Development Company in India.

I am 2D game graphics designer at TheAppGuruz, I designed graphics for many 2D games. Here I am writing blog about one of my favorite concept of 2D graphics; love to share this with you.
Unity ScrollView Script & Demo Video Tutorial
