Be patient..... we are fetching your source code.
Objective
In this tutorial, I will teach how you can play audio and video in your iOS application in simple steps.
Output:
Introduction:
There are number of ways to play audio and video in your ios devices.
For example:
- AVFoundation framework
- System Sound Services
- Audio Queue Services
- OpenAL
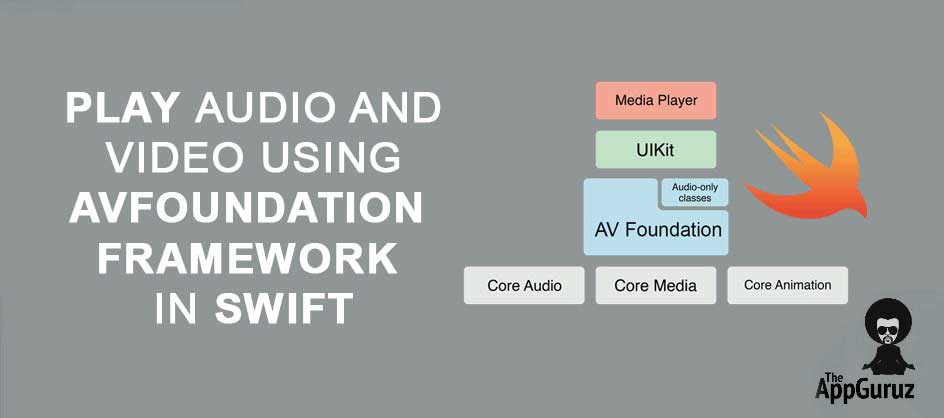
If you would like to interact with audio or video in your iOS application without using any third party libraries, the easiest way to would be through AVFoundation Framework.
You can get more idea of AVFoundation Framework by this link:
I will use AVFoundation Framework throughout this tutorial to play audios and videos.
So let's dive deeper into AVFoundation Framework.
What is AVFoundation framework?
AVFoundation Framework is gives easy access to following operations in your iOS app.
- Play audio: AVAudioPlayer
- Record audio: AVAudioRecorder
- Play video: AVPlayer
The primary class that is used by AVFoundation Framework is AVAsset.
What is AVAssets?
An AVAsset instance is an aggregated representation of a collection of one or more media which includes audio, video, photos, etc.
AVAsset is used to get information about media such as:
- title
- duration
- video thumbnail
- size, etc.
My focus for this blog post would be on playing audio & video using AVFoundation Framework.
This blog post is divided into two parts:
- Play audio using AVAudioPlayer
- Play video using AVPlayer
If you don’t have any idea about AVFoundation, then please refer following link:
Now create a new xCode project.
If you don't have any idea about how to create project please refer following link:
Now I will move towards Part - 1: Play audio.
PART - 1 Play audio using AVAudioPlayer
Step 1 Create Layout For Button
I will play audio when user click on Play Audio button.
For that please design layout as per following:
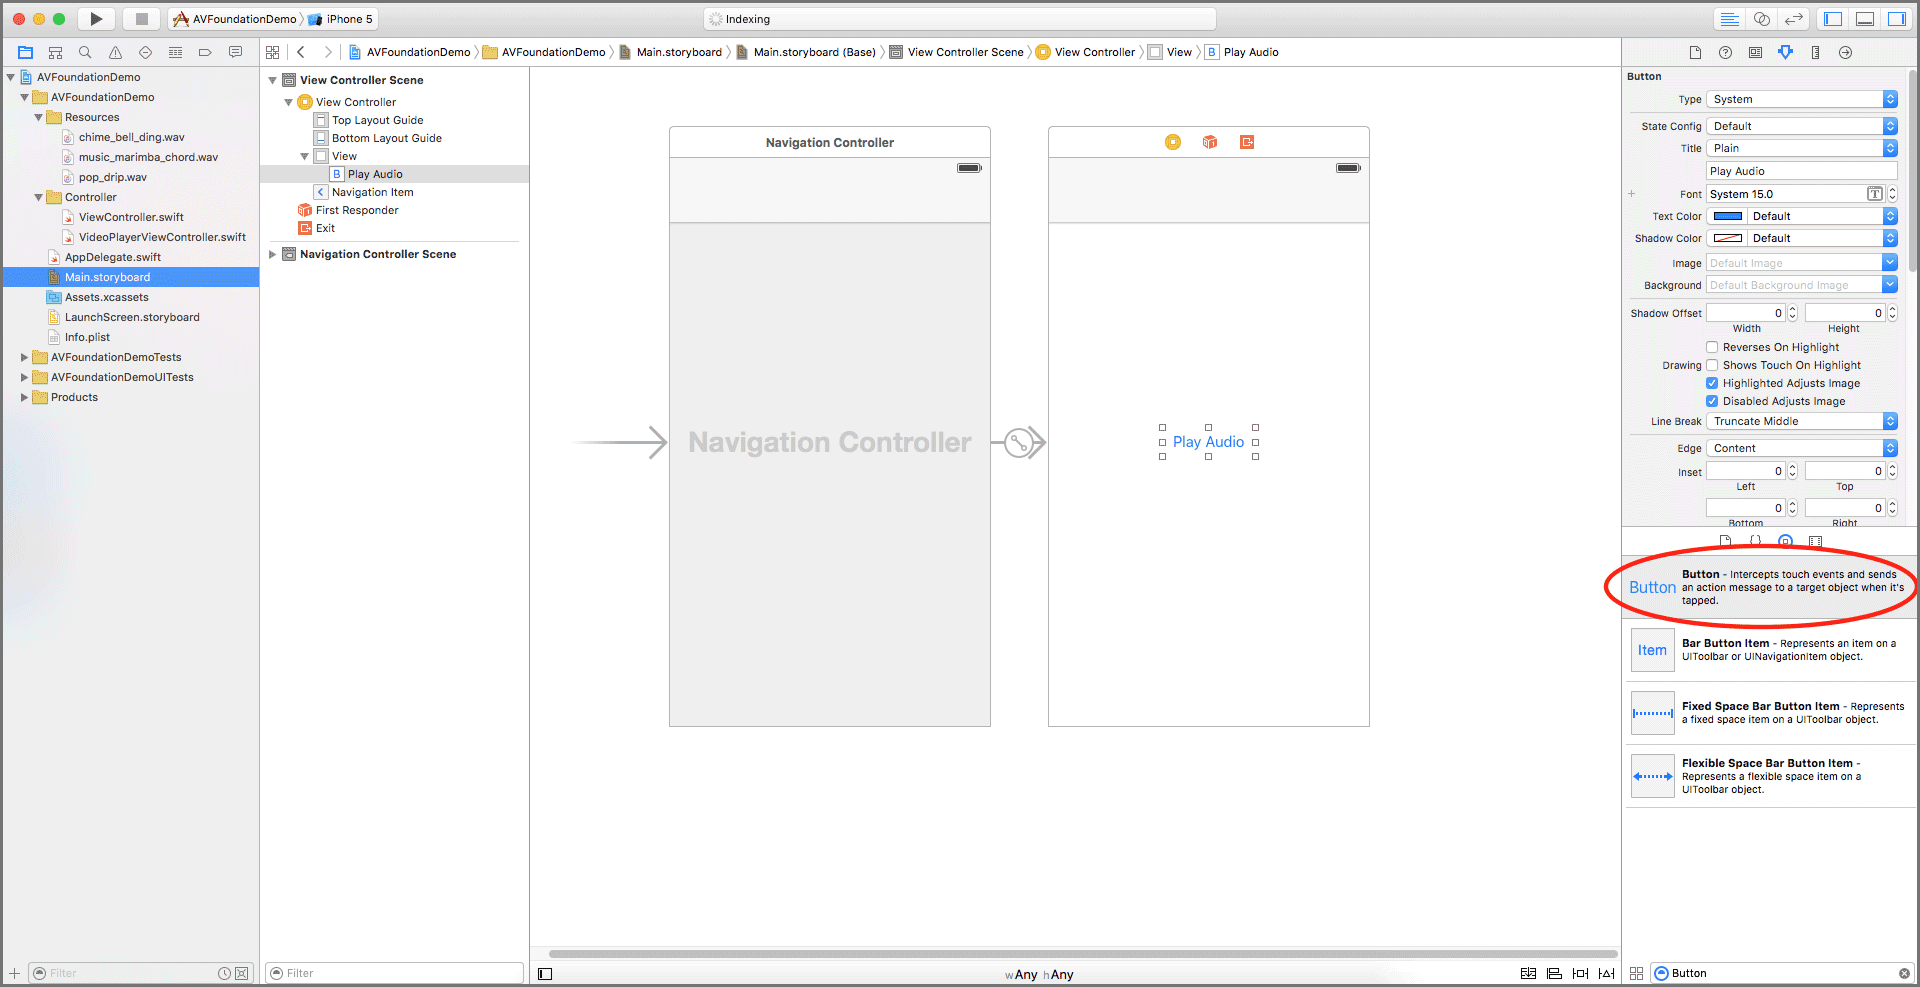
If you don't have any idea about how to design layouts using storyboard, please refer following link:
Step 2 Import AVFoundation Framework
To use AVAudioPlayer, I have to import AVFoundation in ViewController.swift file.
import AVFoundation
Step 3 Play Audio
When user click on Play Audio button.
I would call playAudio() function as follows:
func playAudio()
{
        // set URL of the sound
        let soundURL = NSURL(fileURLWithPath: NSBundle.mainBundle().pathForResource("chime_bell_ding", ofType: "wav")!)

        do
        {
            audioPlayer = try AVAudioPlayer(contentsOfURL: soundURL)
            audioPlayer!.delegate = self

            // check if audioPlayer is prepared to play audio
            if (audioPlayer!.prepareToPlay())
            {
                audioPlayer!.play()
            }
        }
        catch
        { }
}
This method will:
- Get URL of the sound using NSURL and store it to soundURL.
- Create object of AVAudioPlayer and assign it to audioPlayer.
- If audioPlayer is prepared to play, then it will play audio using audioPlayer!.play() method.
Step 4 Play audio continuously
In our application, we often need to play sound in loop (continuous playing) and stop at some specific time. This can be achieved by getting callback for AVAudioPlayer. To get callback of AVAudioPlayer, I need to add my class as a subclass of AVAudioPlayerDelegate and register its delegate to self.
When audio player is finished playing, I will get callback in audioPlayerDidFinishPlaying() method.
You have to set delegate of AVAudioPlayer as following:
audioPlayer!.delegate = self
Step 5 AVAudioPlayer Delegate
5.1 Play Continuously
In this example, I have taken a boolean variable named playAudioRepeatedly. So, when I need to play sound continuously, I will just set value of variable to be true.
playAudioRepeatedly = true
In audioPlayerDidFinishPlaying() method, I have checked the status of the playAudioRepeatedly variable. If it is true, then I will replay the audio using audioPlayer!.play().
func audioPlayerDidFinishPlaying(player: AVAudioPlayer, successfully flag: Bool)
{
        if (playAudioRepeatedly)
        {
            audioPlayer!.play()
        }
}
5.2 Stop Playing
When I need to stop playing audio, I will call a stopAudio()method.
func stopAudio()
{
        audioPlayer!.stop()
        btnPlayAudioRepeatedly.enabled = true
        btnStopAudio.enabled = false
        playAudioRepeatedly = false
}
In this method, I have implemented:
- Stop audio from playing.
- Set the value of playAudioRepeatedly to false. It will not play audio once it’s completed.
Now I will move to PART - 2.
PART - 2 Play video using AVPlayer
I have taken AVPlayerViewController to play video. AVPlayerViewController allows you to control the video using built-in controls.
Step 1 Add AVPlayerViewController
To add AVPlayerViewController
1. Go to your storyboard.
2. Find AVKitPlayerViewController and drag to the storyboard.
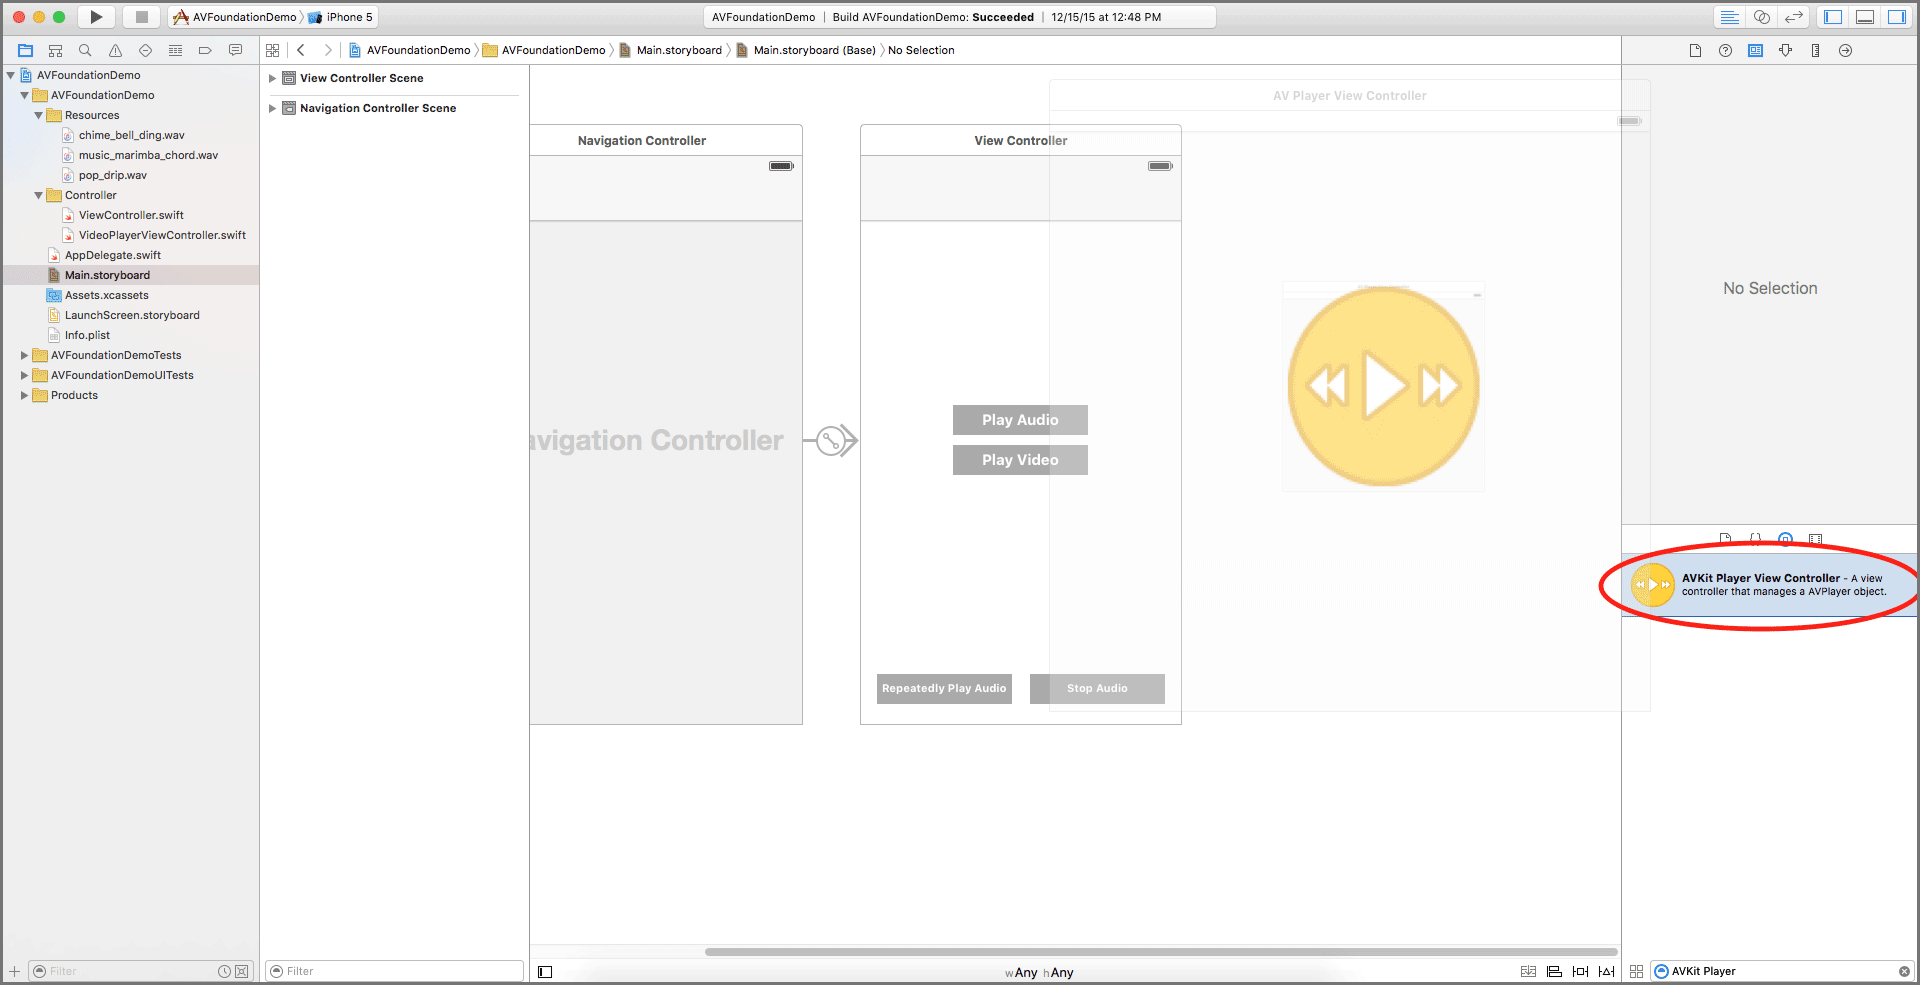
3. Create a swift file with subclass of AVPlayerViewController.
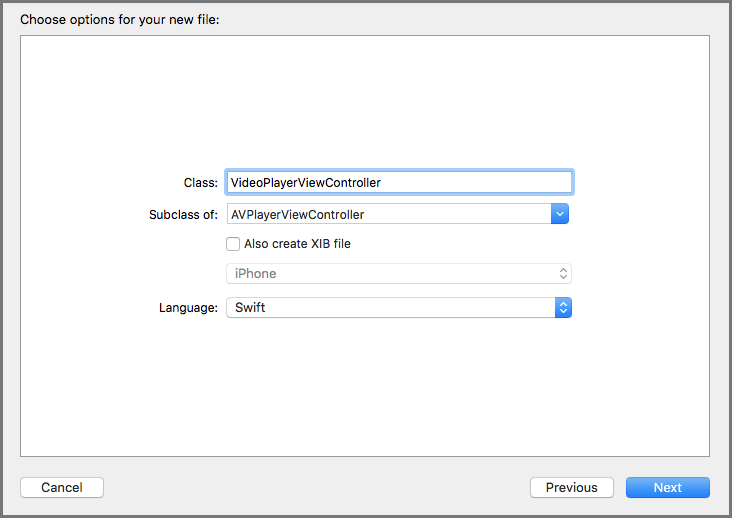
Now, I would be passing the videoURL as a parameter. So, I will declare a variable named videoURL in the VideoPlayerViewController class.
Step 2 Select Video Using UIImagePickerController
First of all, I would be fetching all the videos from the device using UIImagePickerConroller.
If you don't have any idea about UIImagePickerController and how to pick video from picker then please refer following link:
- https://developer.apple.com/library/ios/documentation/UIKit/Reference/UIImagePickerController_Class/
Now I have to add current class to the subclass of UIImagePickerControllerDelegate and UINavigationControllerDelegate.
func getVideos()
{
        let imagePickerController = UIImagePickerController()
        imagePickerController.sourceType = .SavedPhotosAlbum
        imagePickerController.mediaTypes = [kUTTypeMovie as String]
        imagePickerController.delegate = self

        self.presentViewController(imagePickerController, animated: true, completion: nil)
}
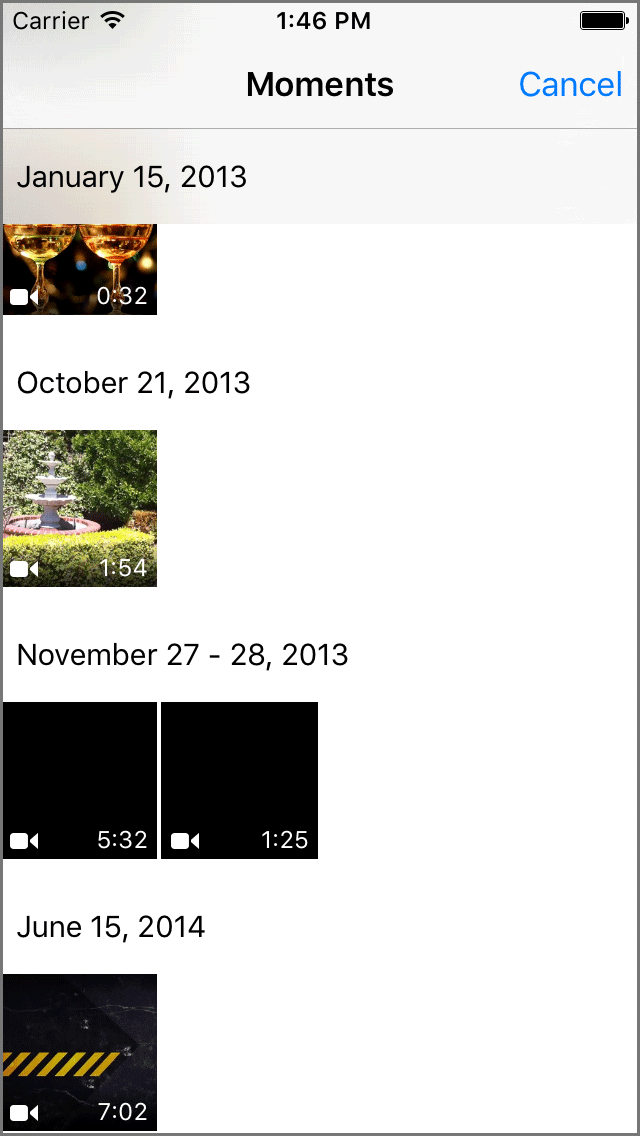
Following delegate method of UIImagePickerController is called once I pick video from image picker:
func imagePickerController(picker: UIImagePickerController, didFinishPickingMediaWithInfo info: [String : AnyObject])
{
        self.dismissViewControllerAnimated(true, completion: nil)

        let videoPlayerViewController = self.storyboard!.instantiateViewControllerWithIdentifier("VideoPlayerViewController") as! VideoPlayerViewController
        videoPlayerViewController.videoURL = info[UIImagePickerControllerMediaURL] as? NSURL

        self.navigationController!.pushViewController(videoPlayerViewController, animated: true)
}
Step 3 Load Video in AVPlayer
Following method is used to load selected video in VideoPlayerViewController
func loadVideo()
{
        videoPlayer = AVPlayer(URL: videoURL!)
        let playerViewController = AVPlayerViewController()
        playerViewController.player = videoPlayer

        NSNotificationCenter.defaultCenter().addObserver(self, selector: "playerDidReachEndNotificationHandler:", name: AVPlayerItemDidPlayToEndTimeNotification, object: videoPlayer!.currentItem)

        self.presentViewController(playerViewController, animated: true)
            {
                playerViewController.player!.play()
        }
}
In this method, I have performed following operations:
- I have created an AVPlayer object and assigned it to the player of AVPlayerViewController class.
- Opens an AVPlayer.
- By the completion of the AVPlayer, I have start playing video.
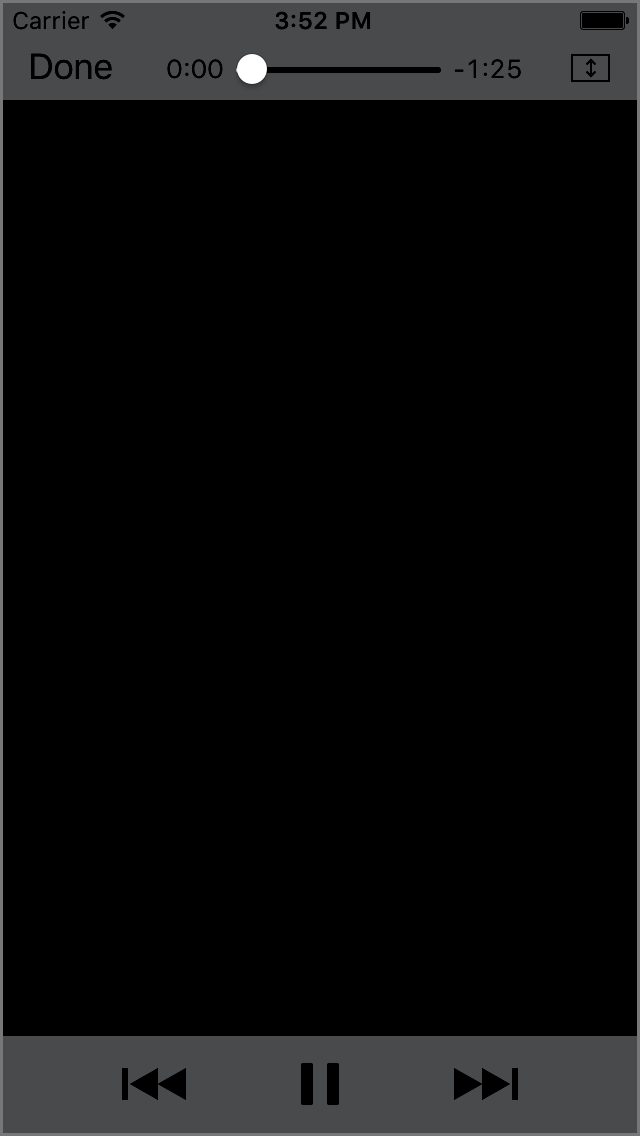
AVPlayer contains following built in controls to control the video:
- Play
- Pause
- Backward
- Forward
I hope you will find this post very useful while working with AVFoundation Framework in Swift. Let me know in comment if you have any questions regarding in Swift. I will reply you ASAP.
Got an Idea of iPhone App Development? What are you still waiting for? Contact us now and see the Idea live soon. Our company has been named as one of the best iPhone Application Development Company in India.

I am 2D Game developer and iOS Developer with an aspiration of learning new technology and creating a bright future in Information Technology.
