Be patient..... we are fetching your source code.
Objective
Main objective of this blog post is to give you an idea about how to use SplitViewController in iPhone using Swift.
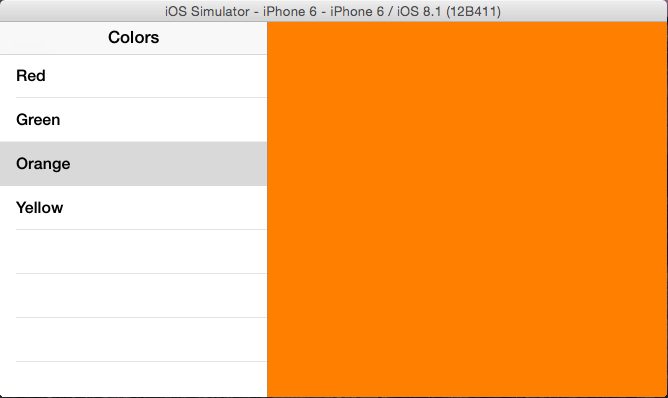
You will get Final Output:
a) Portrait
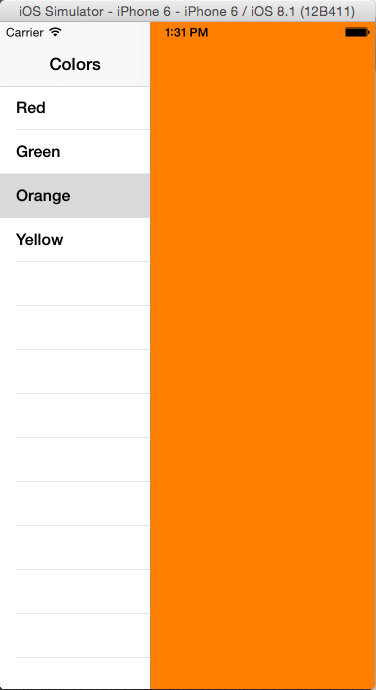
b) Landscape
We all know that iOS 8 not only contains new features, but along with that it has also made great improvements to existing ones as well. View controllers have been no exception. In this blog we are going to focus on a special view controllers ie. UISplitViewController.
Up till now we were able to use split view in iPad only but with introduction of iPhone 6 and iPhone 6+ which support larger screens we can now use this feature in iPhone too.
Below are the screenshots of the application that we are going to create:-
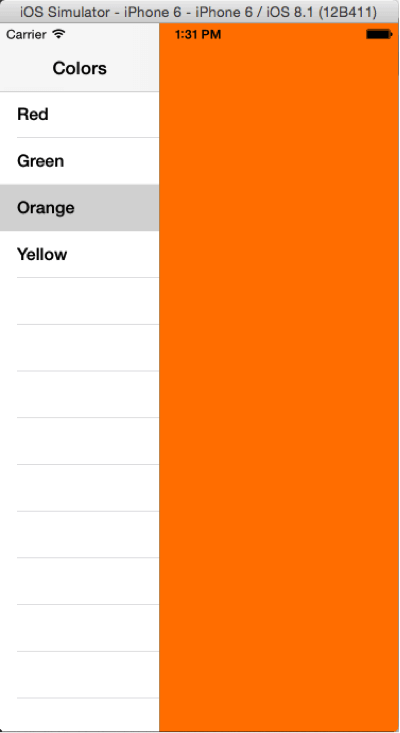
Portrait
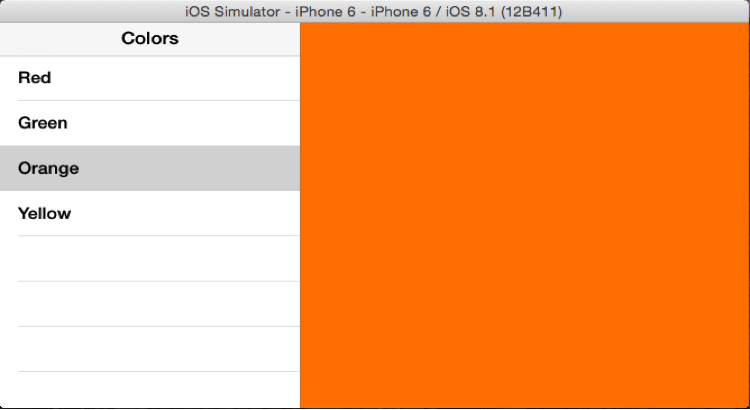
Landscape Follow the below steps to use Split View in iPhone :-
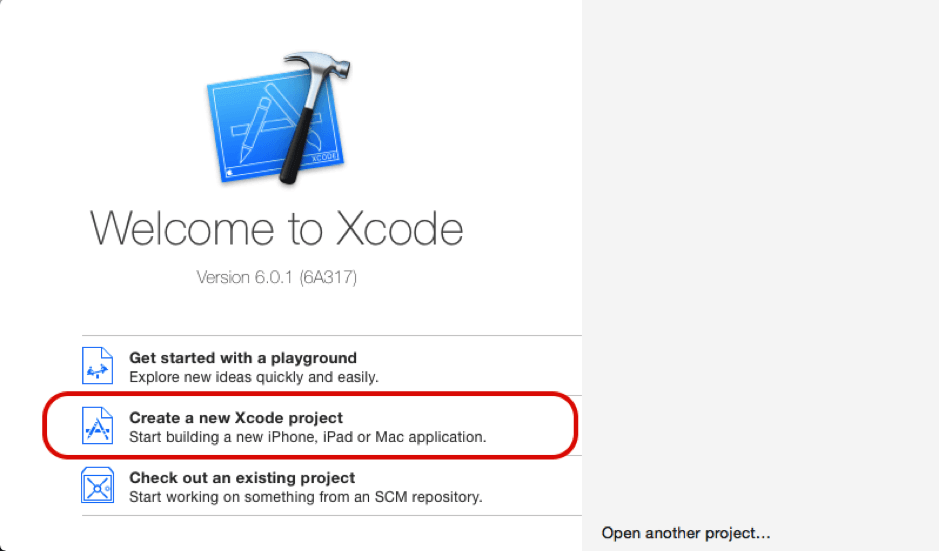
Step 1 Open Xcode Project
Open Xcode and select “Create a new Xcode project”.
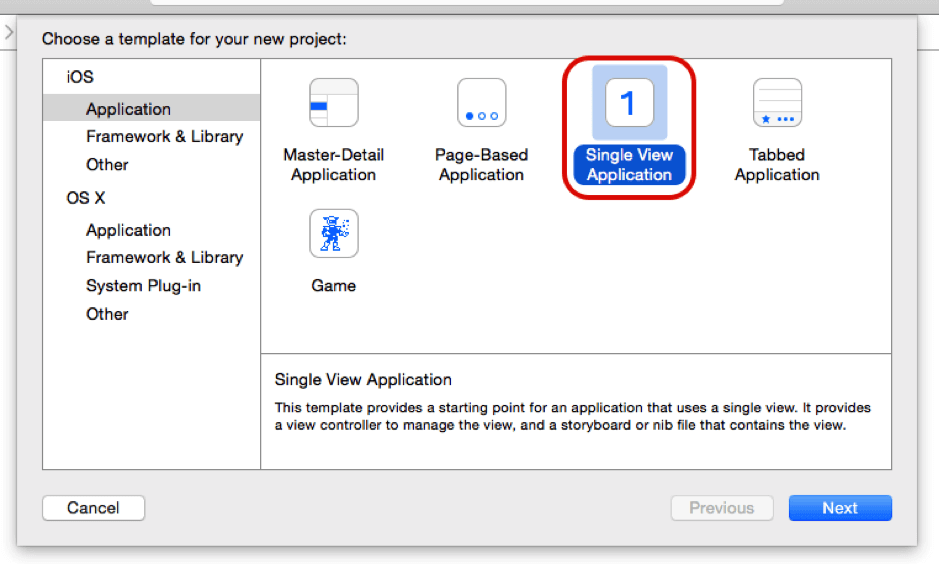
Step 2 Select Project Template
Select “Single View Application” from given list of templates
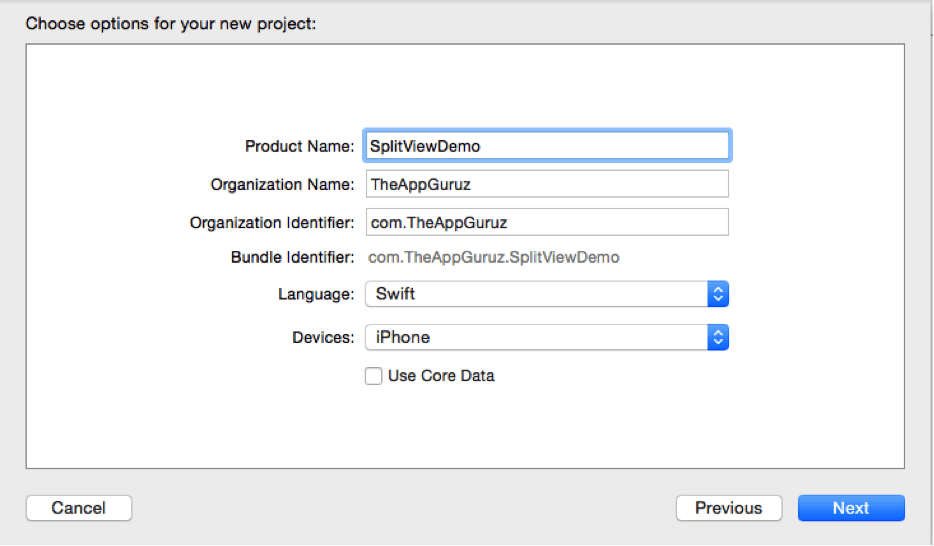
Step 3 Fill project data
Name the product as SplitViewDemo and provide rest of the informtion and select “Swift” language . Once done press next button.
Step 4 Remove default controller
Remove the View controller that is created by default from the storyboard and also the swift file for it. Now before we start create 3 classes :-
A UITableViewController named “PrimaryViewController” that we’ll use as the primary view controller of split View.
A UIViewController named “SecondryViewController” that we’ll use as the secondary view controller of the split view controller.
A UIViewController named “CustomViewController” that we will use as a custom container that contains SplitViewController.
Step 5 Design UI
Open the Main.storyboard file, locate Split View Controller from the Object Library and add it to the canvas
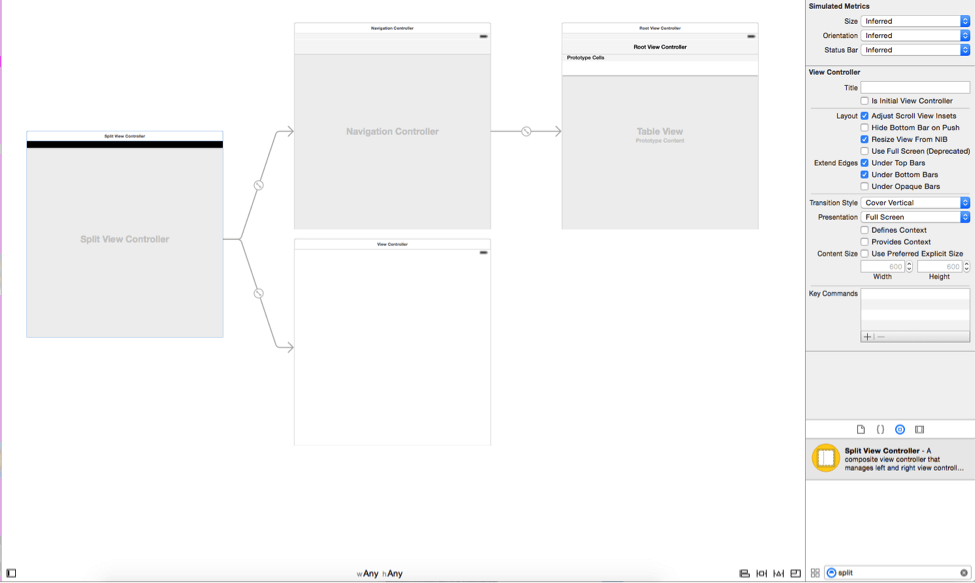
Step 6 Set reuseIdentifier for UITableViewCell
Now assign the PrimaryViewController that we created to the primary view of split view as shown and also provide the storyboard ID.
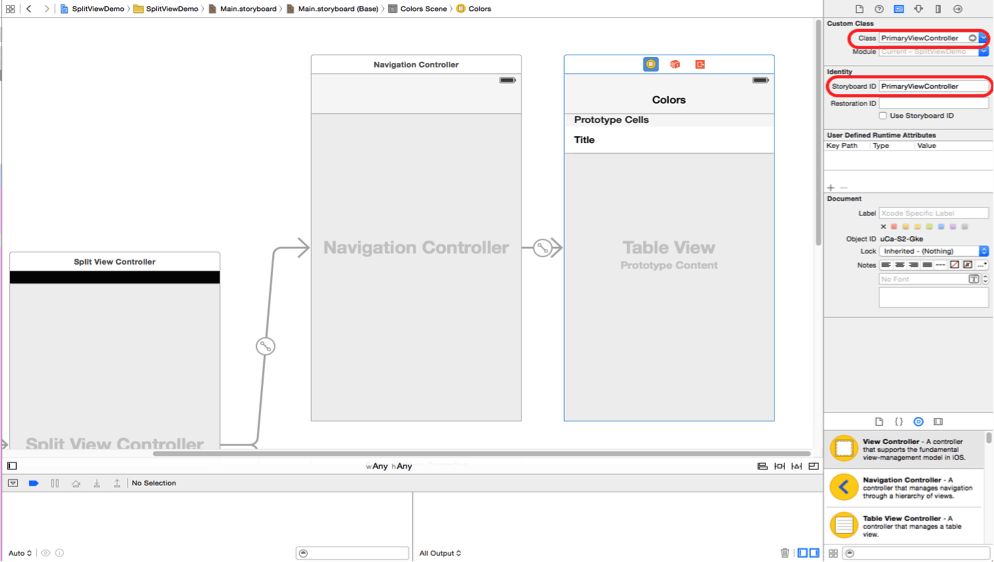
Repeat the same for Secondry view of split view.
Step 7 UITableView delegate & datasource methods
Now select the primary view of split view and set the cell style as basic and reuse identifier as “reuseIdentifier” . Add following code to “PrimaryViewController.swift”
First create an array of colors that we are going to display in table.
var marrColors : NSMutableArray=NSMutableArray(array: ["Red","Green","Orange","Yellow"])
Override the datasource and delegate methods of table view as shown :-
override func numberOfSectionsInTableView(tableView: UITableView) -> Int {

        return 1
    }

    override func tableView(tableView: UITableView, numberOfRowsInSection section: Int) -> Int {

        return 4
    }


    override func tableView(tableView: UITableView, cellForRowAtIndexPath indexPath: NSIndexPath) -> UITableViewCell {
        let cell = tableView.dequeueReusableCellWithIdentifier("reuseIdentifier", forIndexPath: indexPath)

       cell.textLabel?.text = marrColors.objectAtIndex(indexPath.row) as? String

        return cell
    }

    override func tableView(tableView: UITableView, didSelectRowAtIndexPath indexPath: NSIndexPath) {

        let cell :UITableViewCell = tableView.cellForRowAtIndexPath(indexPath)!
        let storyBoard : UIStoryboard = UIStoryboard (name: "Main", bundle: nil);
        let objSecondryViewController :SecondryViewController = storyBoard.instantiateViewControllerWithIdentifier("SecondryViewController") as! SecondryViewController
        objSecondryViewController.selectedColor = cell.textLabel?.text
        showDetailViewController(objSecondryViewController, sender: self)

    }
Step 8 Set Background color
Now select the secondry view of split view add following code to “SecondryViewController.swift”
First create string variable named selectedColor that we are going to set in didSelectRowAtIndexPath method of our tableview in “PrimaryViewController.swift”
var selectedColor: String!
Add following code to viewDodLoad method
override func viewDidLoad() {
        super.viewDidLoad()

if selectedColor == nil {
return
}
var str : NSString = NSString(string: selectedColor) as NSString
if str.isEqualToString("Red")
{
self.view.backgroundColor = UIColor.redColor()
}
if str.isEqualToString("Green")
{
self.view.backgroundColor = UIColor.greenColor()
}
if str.isEqualToString("Orange")
{
self.view.backgroundColor = UIColor.orangeColor()
}
if str.isEqualToString("Yellow")
{
self.view.backgroundColor = UIColor.yellowColor()
}
}
Step 9 SplitViewController Methods
Now select the “CustomViewController.swift” file and add following code to it
First crate a variable of UISplitViewController
var viewController : UISplitViewController!
Now Add following function to it.
func setEmbeddedViewController(splitViewController: UISplitViewController!){
        if splitViewController != nil{
            viewController = splitViewController
            self.addChildViewController(viewController)
            self.view.addSubview(viewController.view)
            viewController.didMoveToParentViewController(self)
        }
        self.setOverrideTraitCollection(UITraitCollection(horizontalSizeClass: UIUserInterfaceSizeClass.Regular), forChildViewController: viewController)
    }
In the above method we create a object of UISplitViewController and add it as child view of our CustomViewController. Once this is done we are overriding the default trait so that both primary and secondry view of SplitViewController appear in same screen.
Step 10 didFinishLaunchingWithOptions mehtod
Now select the “AppDelegate.swift” file and add following code to it
- First crate a variable of UISplitViewController otside all functions.
var splitViewController : UISplitViewController?
- Secondly add following code to the “didFinishLaunchingWithOptions” method
func application(application: UIApplication, didFinishLaunchingWithOptions launchOptions: [NSObject: AnyObject]?) -> Bool {
        splitViewController = UIStoryboard(name: "Main", bundle: nil).instantiateViewControllerWithIdentifier("idSplitViewController") as? UISplitViewController

        splitViewController?.delegate = self

        splitViewController?.preferredDisplayMode = UISplitViewControllerDisplayMode.AllVisible

        let containerViewController : CustomViewController = CustomViewController()
        containerViewController.setEmbeddedViewController(splitViewController)

        window?.rootViewController = containerViewController
        return true
    }
And its done, Our Demo is ready build it and run it. I hope you will find this post very useful while working with SplitViewController in iPhone using Swift. Let me know in comment if you have any questions regarding in Swift. I will reply you ASAP.
Got an Idea of iPhone App Development? What are you still waiting for? Contact us now and see the Idea live soon. Our company has been named as one of the best iPhone App Development Company in India.

I am an iOS Developer and I Personally believe that Mobile applications are the best ways to convert your innovative ideas in to reality in quickest way and help people make their life a joy with technology.
