Objective
The main objective of this blog post is to share basic tips about Unity with Unity Developers.
Whether you're new to creating with Unity or not, we all can acknowledge tips and tricks that will enhance our work process. These tips and tricks are based on my personal experience while working with projects. I am not sure whether these tips are applicable to every project or not. Number of tips is a matter of taste (they may be matching however just as great systems for any tip recorded here). I have put a list of awesome tips and tricks that you should know and can also implement it.
Step 1 Unity Error Finding
Unity provides documentation for a particular error with a site search. You can use site search operator using Google, type site: unity3d.com TYPE_YOUR_ERROR_MSG. This searches for that error all through the majority of Unity's sites and assets, including their structures, exercises, API documentation and information base at the same time.
Step 2 Avoid Branching Assets
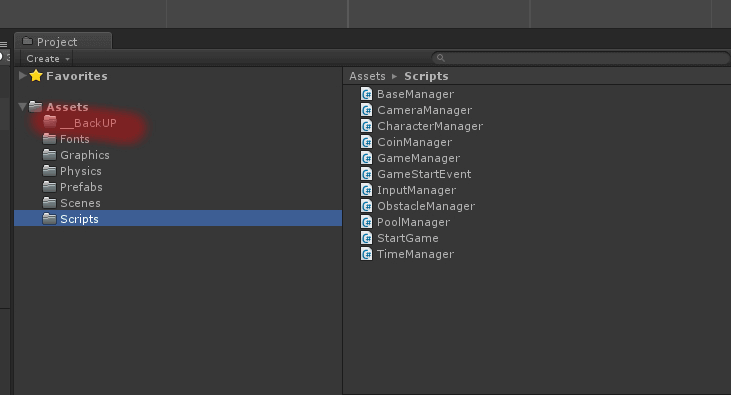
In your project, there should always be only one folder for any asset. If you have to branch a prefab, scene, physics or graphics, follow a process that makes it very clear which is the right version. The “wrong” branch should have a strange name,
For E.g:
- Use a double underscore prefix: __Backup. Branching prefabs require a specific process to make it secure.
Step 3 Use Prefabs
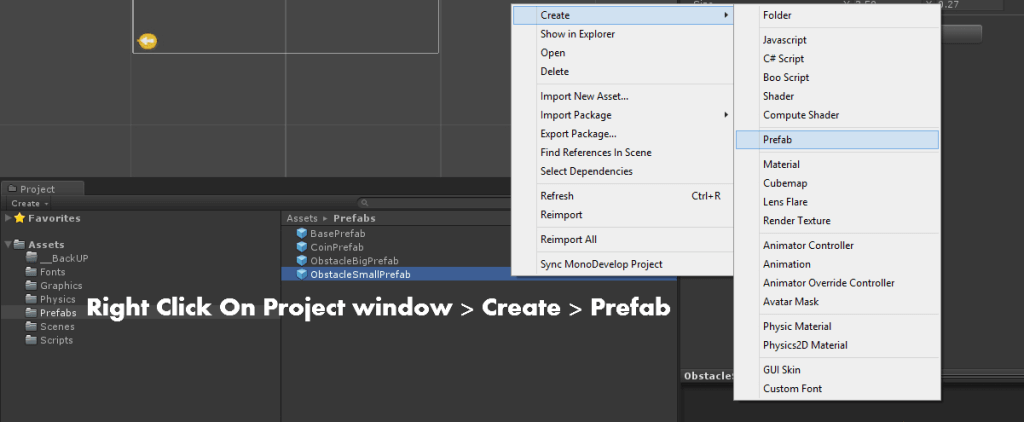
A Prefab is a type of asset. As we discussed in Avoid Branching Assets point, create right version of prefab. The main game protests in your scene that ought not to be prefabs should be folders. Indeed unique objects which are utilized just once should be prefabs. This makes it less demanding to roll out improvements that don't require the scene to change.
Step 4 Class Design
Use singletons design for convenience. Singletons are useful for managers, such as GameManager or GUIManager. Avoid use of singleton designs for unique instances of prefab that are not managers. You can apply singleton patterns in many different ways.
Step 5 GameObject Reusability
On the off chance that you make continuous calls to instantiate and obliterate all through the lifetime of your game or application, this could influence the Garbage Collection significantly. In an attempt to make a pool of game objects towards the beginning of your game, which you can then empower and impair all through your game, you can implement Object Pooling concept for object reusability instead of creating new and destroying them again and again.
Step 6 Build Settings
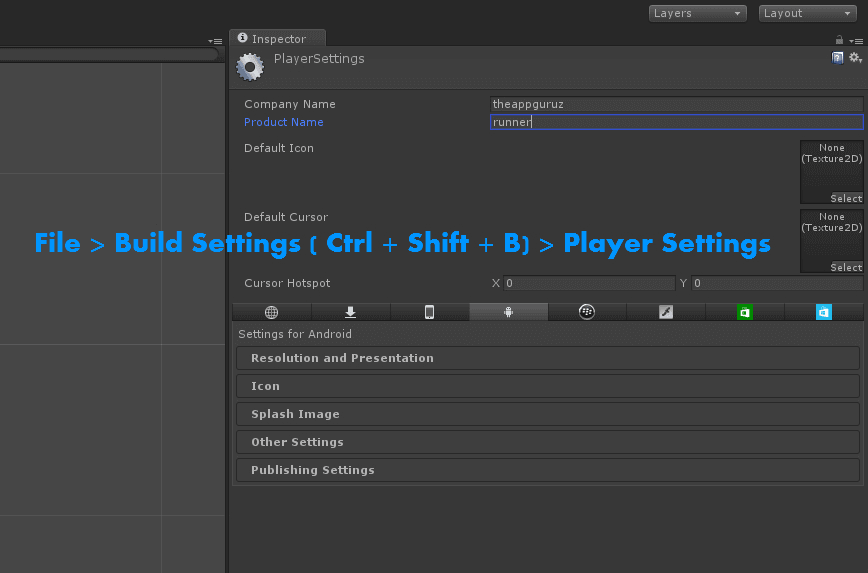
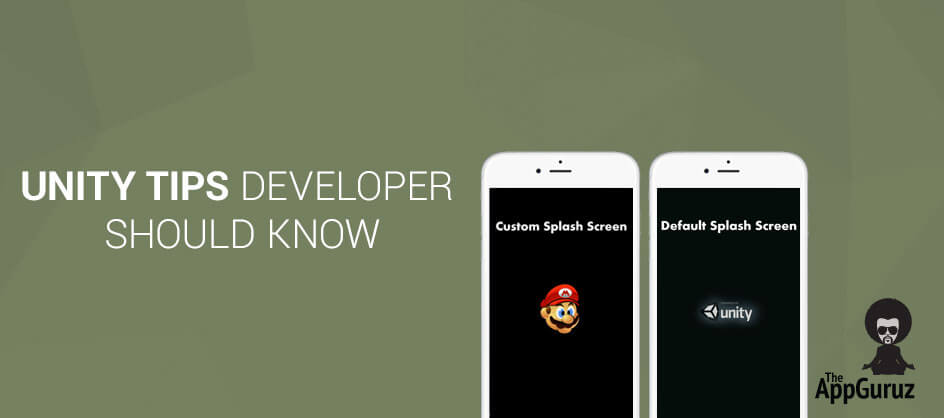
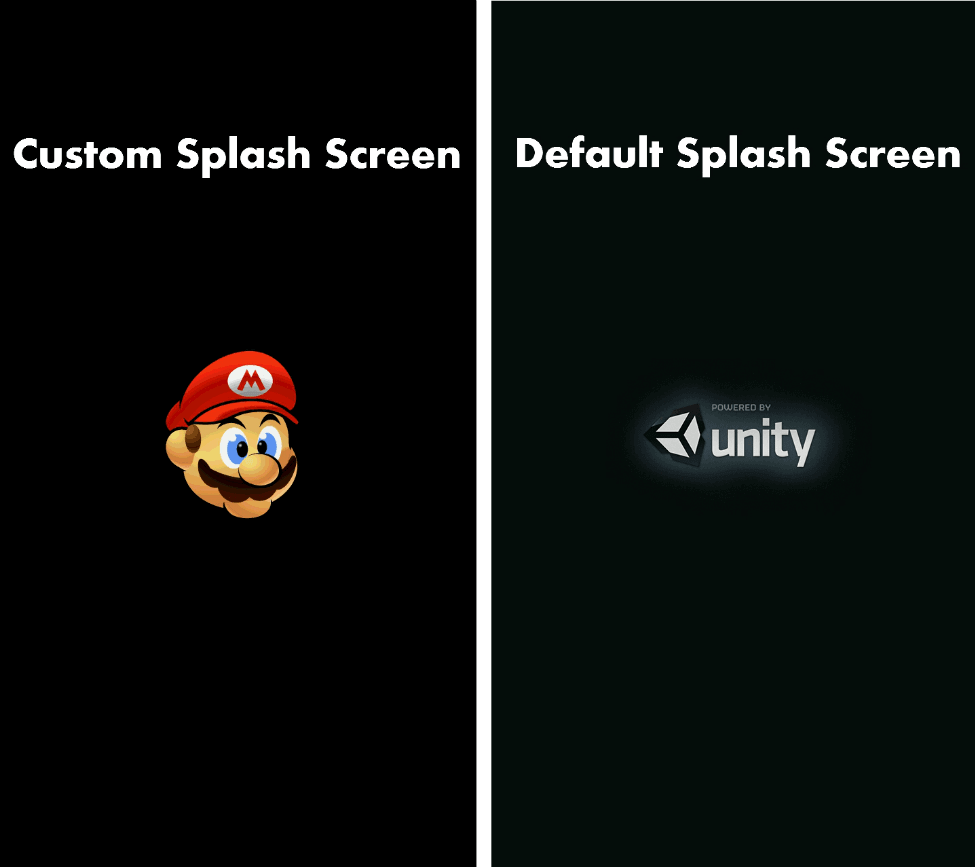
Player Settings is used to define app credentials such as app name, company name, app icon etc. You can deploy game on different platforms as Unity is a cross platform game engine. You can change splash screen using splash image option in player settings. After applying splash image you can see the difference as shown in below image. In the image below you can see the default splash screen on right side and customized splash image on the left side.
Publish settings are used to publish your game on stores like iTuens, Google Play Store etc... Key store is a way of identifying your app via password so it is very safe and you can get credits for any money that you make in the market.
- In Publish Settings you need to check the case that says Create New Key. At that point enter a password of your choice containing more than 6 characters in length.
- Browse Keystore: Enter name and store it on your drive.
- Below that you will include an alternate password where it says Key.
- But first you will be asked to utilize the Alias tab to create new key.
- Do that and enter your password.
Once you've entered all the appropriate information about yourself, you will be granted access to your saved projects in the Alias tab and you're done.
Step 7 Interface Overview
Unity Interface provides 5 panels like Scene View, Hierarchy, Game view, Project and Inspector.
| Scene View | Where you visually construct a game and manipulate the objects in 2D and 3D games. |
| Game View | Where you preview your game. This becomes active when you play the game. You can play the game anytime using play button (Ctrl + P in Windows and Command + P in Mac). |
| Hierarchy | Lists all objects of the scene in alphabetical order. You can also group objects using parent child structure. |
| Project | Project panel shows all the assets currently working at one place giving you a quick access to use and edit them. It shows according to your game like scripts, graphics, prefabs, scenes etc... |
| Inspector | It is a Content sensitive panel which shows properties of any object that you have selected. It shows properties according to the object selected. |
I hope you find this blog is very helpful while start working with Unity3D Project. Let me know in comment if you have any question regarding Unity3D Project.
Got an Idea of 3D Game Development? What are you still waiting for? Contact us now and see the Idea live soon. Our company has been named as one of the best Game Development Company in India.

I am Game Developer at TheAppGuruz. I love all things about game development and try to help others to create games through this website. I tend to focus more on creating games and playing them, it's still just as fun.
