Be patient..... we are fetching your source code.
Objective:
we will learn how to setup Volley for Android and write a sample code to make a JSON request.
Introduction:
Android Volley library is introduced to save time and efforts of all the developers who are tired of writing tones of code for communicating over a network.
It is introduced by google to make network calls easier and most importantly much faster than usual calls.
As in old methods to communicate in asynchronous manner developers need to use AsyncTask but in volley library all the calls will be asynchronous by default So, now no more AsyncTask required to communicate over network.
Volley comes with lot of features. Some of them are:
- Request queuing and prioritization
- Effective request cache and memory management
- Extensibility and customization of the library to our needs
- Cancelling the requests
Now we will learn how to setup volley library.
Step 1 Make volley.jar file
Downloading and making Volley.jar
For this you will need:
| Git | It is used to clone git repository into workspace. You can download it from here. Install it. |
| Apache Ant | It is a command-line tool used to build the source code. Download it from Apache Ant and add the bin path to environmental variables. You should able to execute ant command too in terminal. |
And now navigate to directory in which you want to clone this library and paste this command in command prompt (CMD)
git clone https://android.googlesource.com/platform/frameworks/volley

Now you can use the volley as library or you can make .jar file of it.
For that navigate to volley library folder and type this two command.
android update project -p .
ant jar


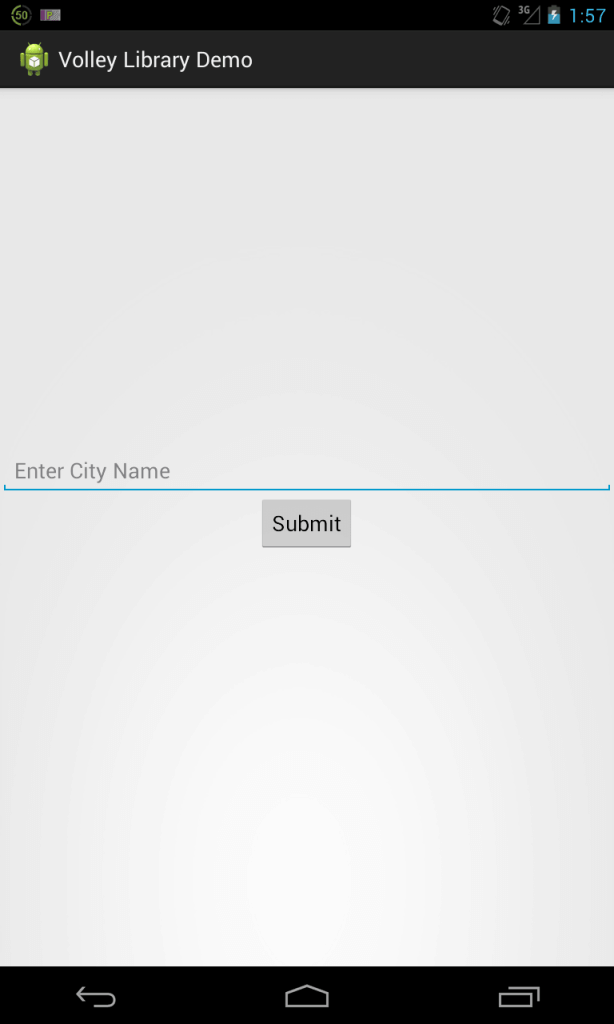
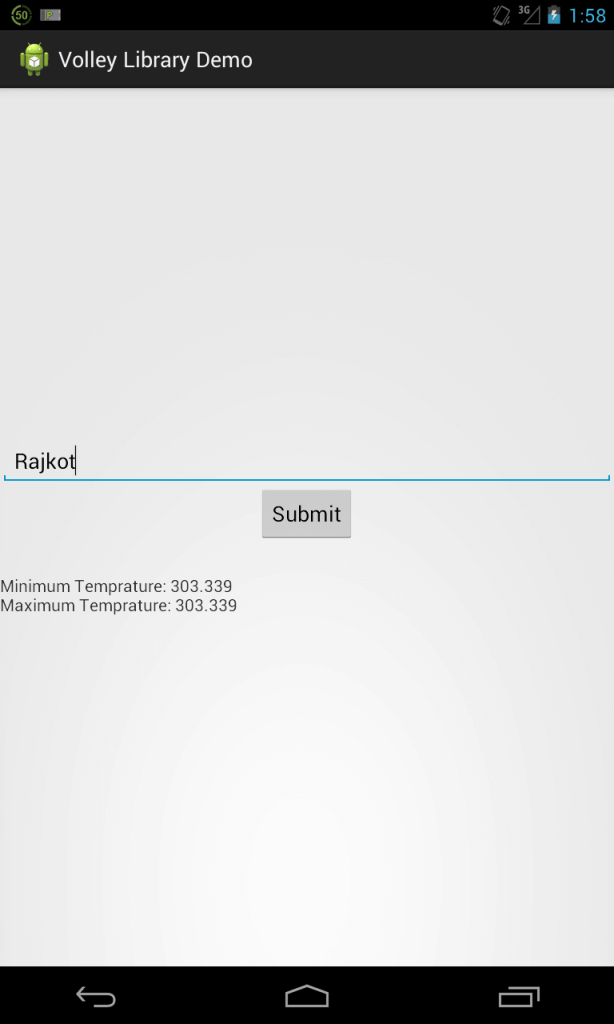
Here we will make an demo app in which city temperature will be displayed.
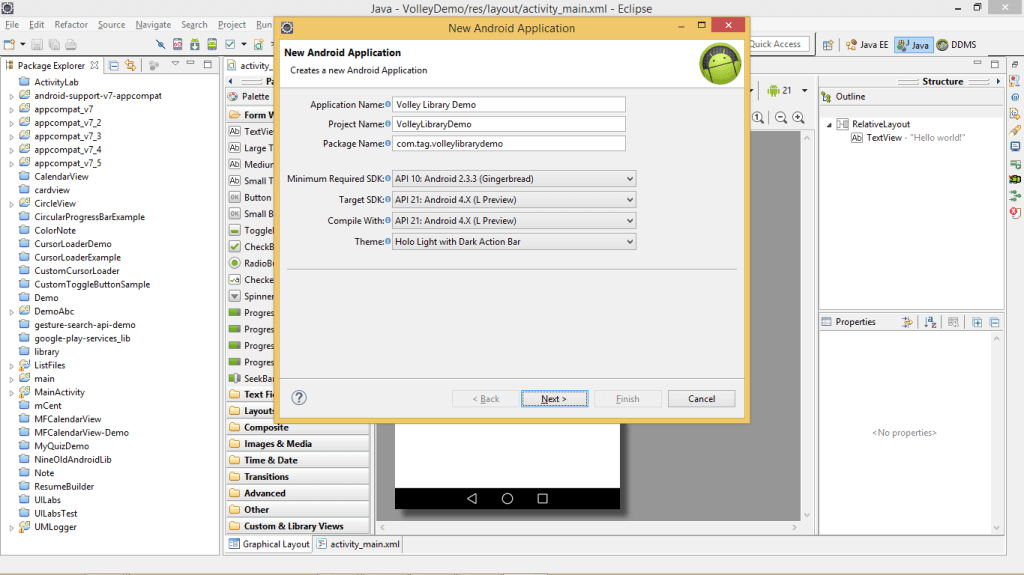
Go to File >> new >> Android Application Project
Step 2 Add Volley.jar file to project
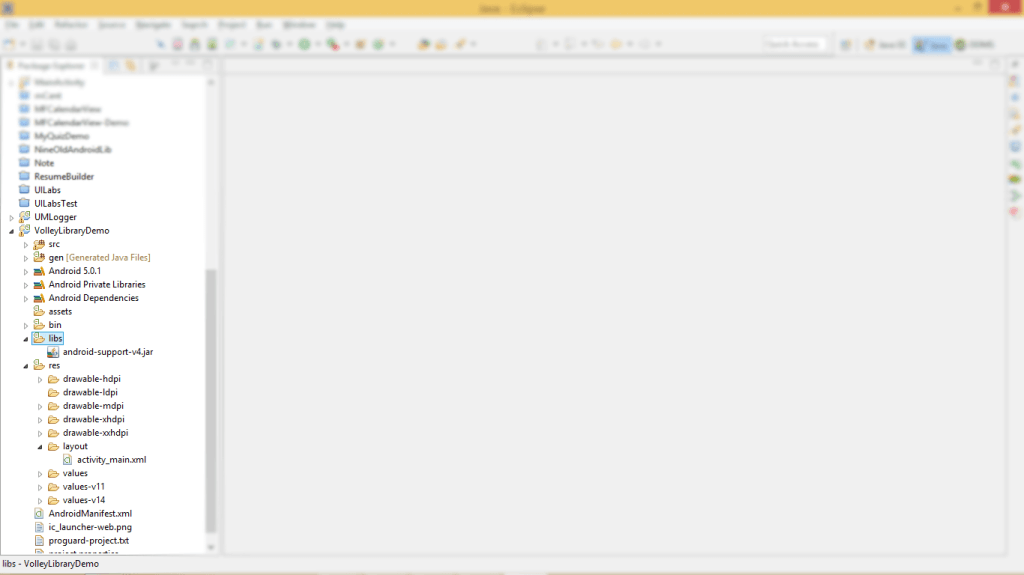
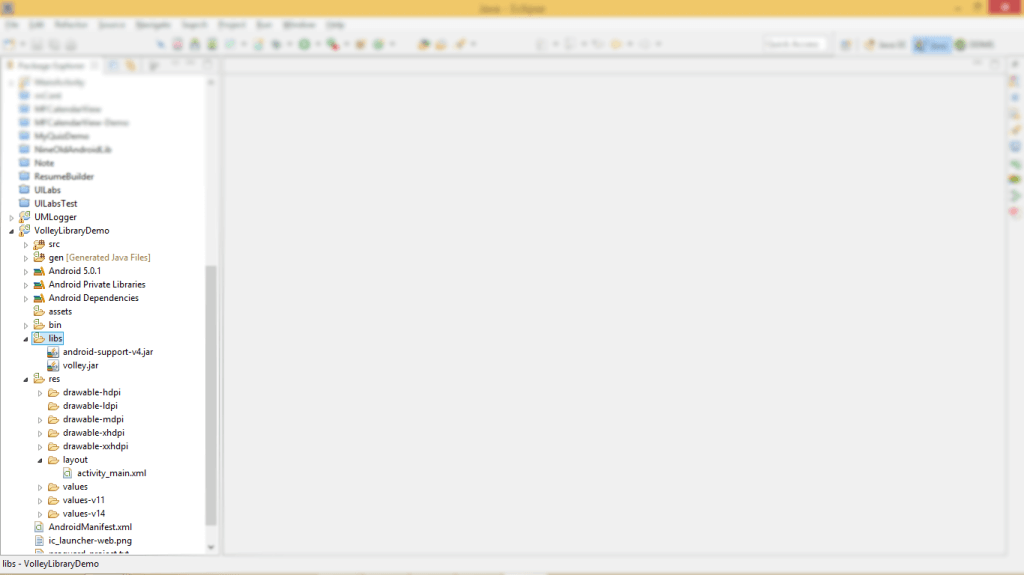
Create new project. Copy volley.jar file and paste it into folder.
Step 3 Create Request Queue using volley library
In volley there is a class called RequestQueue. By using this library we can create call queue and also prioritize it. RequestQueue will make call to the JSON URL or API according to objects in queue.
RequestQueue queue = Volley.newRequestQueue (Context context);
public class MainActivity extends Activity implements OnClickListener {
private TextView txtDisplay;
private Button btnSubmit;
private EditText edtCityName;
private static final String WEATHER_API = "http://api.openweathermap.org/data/2.5/weather?q=";
RequestQueue queue;

@Override
protected void onCreate(Bundle savedInstanceState) {
super.onCreate(savedInstanceState);
setContentView(R.layout.activity_main);
setWidgetReference();
queue = Volley.newRequestQueue(this);
btnSubmit.setOnClickListener(this);
}
Step 4 Create JsonObjectRequest object
Volley library provides 3 ways to request:
| StringRequest | Specify a URL and receive a raw string in response. See Setting up a Request Queue for an example. |
| ImageRequest | Specify a URL and receive an image in response. |
| JsonObjectRequest and JsonArrayRequest (both subclasses of JsonRequest) | Specify a URL and get a JSON object or array (respectively) in response. |
Here I have demonstrated JsonObjectRequest
JsonObjectRequest jsObjRequest = new JsonObjectRequest(
Request.Method.GET, WEATHER_API
+ edtCityName.getText().toString(), null,
new Response.Listener() {

@Override
public void onResponse(JSONObject response) {
try {
JSONObject main = response
.getJSONObject("main");
double temp_min = main.getDouble("temp_min");
double temp_max = main.getDouble("temp_max");
String temprature = "Minimum Temprature: "
+ temp_min + "\n"
+ "Maximum Temprature: " + temp_max;
txtDisplay.setText(temprature);
} catch (JSONException e) {
// TODO Auto-generated catch block
e.printStackTrace();
}
}
}, new Response.ErrorListener() {

@Override
public void onErrorResponse(VolleyError error) {

}
});
Here onResponse() is used to get response from API or JSON URL and if any error is generated onErrorResponse() is called.
After creating JsonObjectRequest object add it to RequestQueue.
queue.add(jsObjRequest);
Step 5 MainActivity.java file
package com.tag.volleylibrarydemo;

import org.json.JSONException;
import org.json.JSONObject;

import android.app.Activity;
import android.os.Bundle;
import android.view.View;
import android.view.View.OnClickListener;
import android.widget.Button;
import android.widget.EditText;
import android.widget.TextView;

import com.android.volley.Request;
import com.android.volley.RequestQueue;
import com.android.volley.Response;
import com.android.volley.VolleyError;
import com.android.volley.toolbox.JsonObjectRequest;
import com.android.volley.toolbox.Volley;

public class MainActivity extends Activity implements OnClickListener {
private TextView txtDisplay;
private Button btnSubmit;
private EditText edtCityName;
private static final String WEATHER_API = "http://api.openweathermap.org/data/2.5/weather?q=";
RequestQueue queue;

@Override
protected void onCreate(Bundle savedInstanceState) {
super.onCreate(savedInstanceState);
setContentView(R.layout.activity_main);
setWidgetReference();
queue = Volley.newRequestQueue(this);
btnSubmit.setOnClickListener(this);
}

private void setWidgetReference() {
txtDisplay = (TextView) findViewById(R.id.txtDisplay);
btnSubmit = (Button) findViewById(R.id.btnSubmit);
edtCityName = (EditText) findViewById(R.id.edtCityName);
}

@Override
public void onClick(View v) {
if (v == btnSubmit) {

JsonObjectRequest jsObjRequest = new JsonObjectRequest(
Request.Method.GET, WEATHER_API
+ edtCityName.getText().toString(), null,
new Response.Listener() {

@Override
public void onResponse(JSONObject response) {
try {
JSONObject main = response
.getJSONObject("main");
double temp_min = main.getDouble("temp_min");
double temp_max = main.getDouble("temp_max");
String temprature = "Minimum Temprature: "
+ temp_min + "\n"
+ "Maximum Temprature: " + temp_max;
txtDisplay.setText(temprature);
} catch (JSONException e) {
// TODO Auto-generated catch block
e.printStackTrace();
}
}
}, new Response.ErrorListener() {

@Override
public void onErrorResponse(VolleyError error) {

}
});

queue.add(jsObjRequest);
}
}
}
To know more about JsonObjectRequest and JsonArrayRequest please refer:
activity_main.xml
<LinearLayout xmlns:android="http://schemas.android.com/apk/res/android"
    xmlns:tools="http://schemas.android.com/tools"
    android:layout_width="match_parent"
    android:layout_height="match_parent"
    android:orientation="vertical"
    tools:context="${relativePackage}.${activityClass}" >

    <EditText
        android:id="@+id/edtCityName"
        android:layout_width="match_parent"
        android:layout_height="wrap_content"
        android:layout_alignParentTop="true"
        android:layout_centerHorizontal="true"
        android:ems="10"
        android:hint="Enter City Name" >

        <requestFocus />
    </EditText>

    <Button
        android:id="@+id/btnSubmit"
        android:layout_width="wrap_content"
        android:layout_height="wrap_content"
        android:layout_below="@+id/edtCityName"
        android:layout_centerHorizontal="true"
        android:layout_gravity="center"
        android:text="Submit" />

    <TextView
        android:id="@+id/txtDisplay"
        android:layout_width="match_parent"
        android:layout_height="wrap_content"
        android:layout_below="@+id/btnSubmit"
        android:layout_centerHorizontal="true"
        android:layout_gravity="center"
        android:layout_marginTop="26dp" />

</LinearLayout>
Step 6 Run application and enter city name.
In order to run this app you will need internet permission. For that put this line in AndroidManifest.xml file
<uses-permission android:name="android.permission.INTERNET"/>
Output:
I hope you find this blog very helpful while working with Volley. Let me know in comment if you have any questions regarding Networking for Android. I will reply you ASAP.
Got an Idea of Android App Development? What are you still waiting for? Contact us now and see the Idea live soon. Our company has been named as one of the best Android App Development Company in India.

I am dedicated and very enthusiastic Android developer. I love to develop unique and creative apps and also like to learn new programing languages and technology.
Custom HorizontalListView in Android App
Overview of Tools in Photoshop
