Objective
Main objective of this blog post is to explain how to work with Crop Tools
Crop tool is used to cut the selective portions of an image. In older versions of Photoshop up to CS5, there were only three options available in the crop tool menu- Crop , Slice & Slice select tool but From Photoshop CS6 onwards there is a forth option added to the menu i.e. ‘Perspective Crop Tool’.
Let's take a closer look at these tools in Photoshop CC.
Step 1 Start With Crop Tool
Crop tool is used to trim the selective areas of an image. However it reduces the size of the image. Let's take an example.
Select Crop Tool from the toolbox.
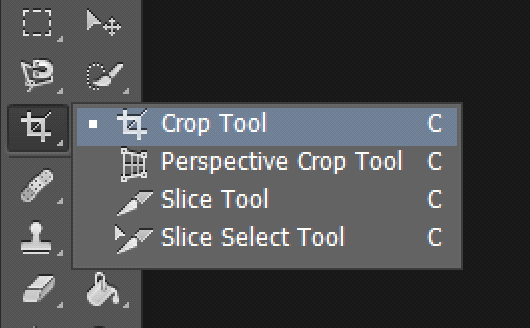
When you select the tool, it displays a dotted line around the image as shown.

Click & Drag the cursor on the image to select the area that you want to crop. When you select any particular area it highlights that part.
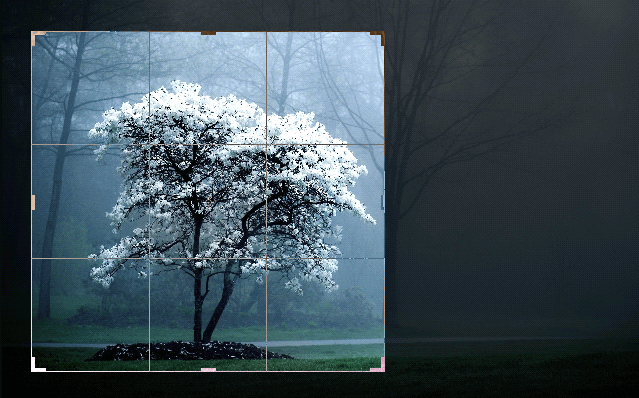
1.1 Various Options For Crop Tool
Various options (related to size, resolution, image straightening, etc...) are available for cropping at the top of the screen.

Here, either you can select the custom ratio of cropping from the drop down list or write the required size into the text boxes. The default measurement unit of crop is what you select in the ruler. For ex, if you select pixels in the ruler the default unit is pixels.
The other option is of Image Straightening. You can straighten the image by simply clicking on 'Straighten' from the options and then dragging the line on the image in the direction that you want to straighten.
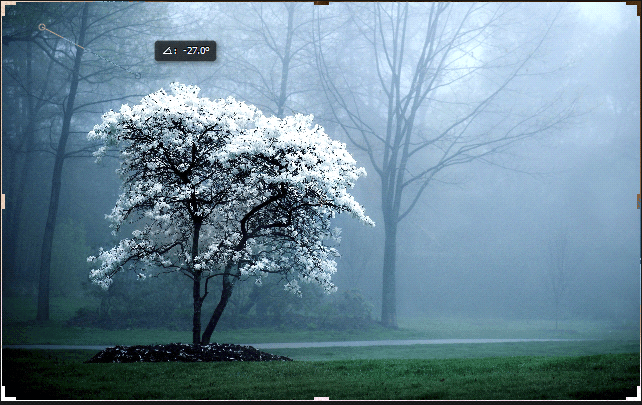
Step 2 Perspective Crop Tool
Perspective Crop Tool is used to convert perspective image to flat image. This tool is used to flatten the image that is captured at different angles.
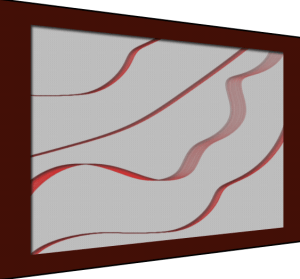
Take an image that you want to flatten.
Click on the image. Then simply drag the pointer to the next corner. Do this until the first and the last point corresponds.
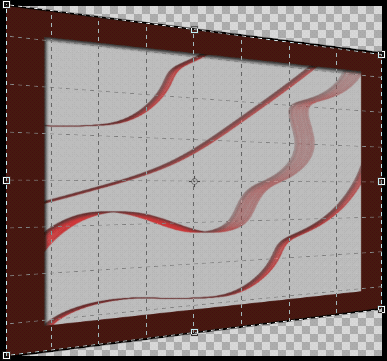
Now, press enter to get an image like this.
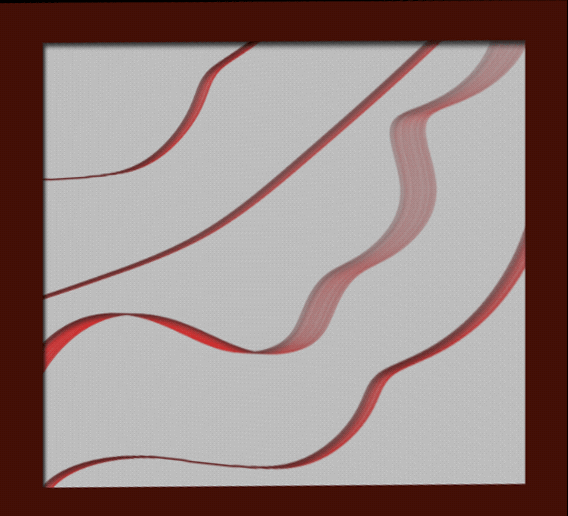
Step 3 Slice Tool
Slice tool divides the image into various pieces. These sliced portions can be used in websites later. This tool is mainly used for this purpose.
Let’s start with the Slice Tool.
Select the slice tool from the toolbox.
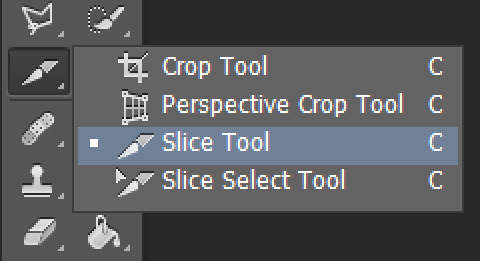
Now select a particular portion from an image that you want to export for the web.
For example, select the logo. After selecting you can move that portion with the arrow keys.
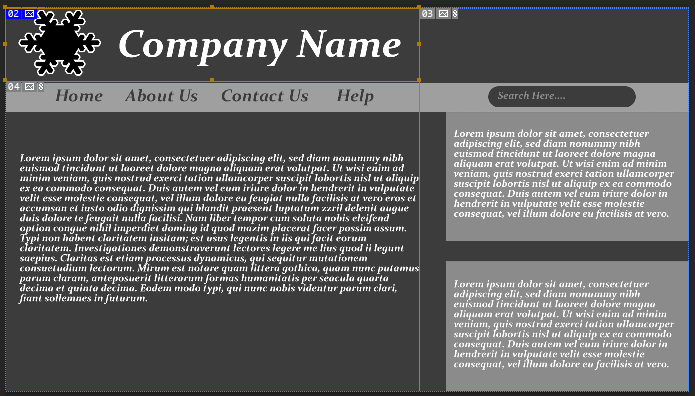
If you want to slice the image of a particular size then select the Fixed Aspect Ratio/Fixed size from the options at the top of the screen or give the size in the text box manually. By default the fixed size is 64px.

Step 4 Slice Select Tool
After slicing the portion you can see that the active slice is orange in color. Now take a Slice Select Tool.
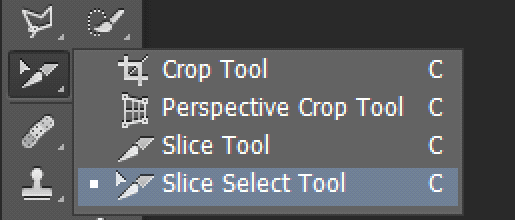
Double click on the slice you want to export.
Step 5 Various Slice Options
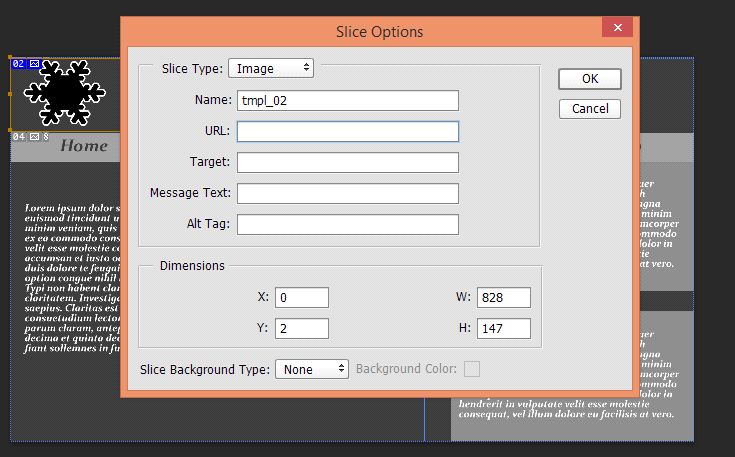
Slice Type
Here, you can select either Image or No Image from the drop down. Whenever you select the Image it means the piece with the image and whenever you select No image it means piece without the image (a blank slice).
URL
URL means address of the page. It can be either relative or absolute. It means whenever you click on that portion you will be redirected to that page.
Target
Target means the place in the page where you want it to appear. You can select from various options like,
_blank
_new
_top
_self
_parent
Message
Message text is the message that will appear at the bottom of the website when you click on the particular sliced portion.
Alt Tag
Alt Tag is used to specify the text which will appear in case of image unavailable.
Now, go to File > Save for Web or press Alt + Ctrl +Shift + S.
From the Format Drop down box select HTML & Images. Then click on save button at the bottom of the window to export the content to the web.
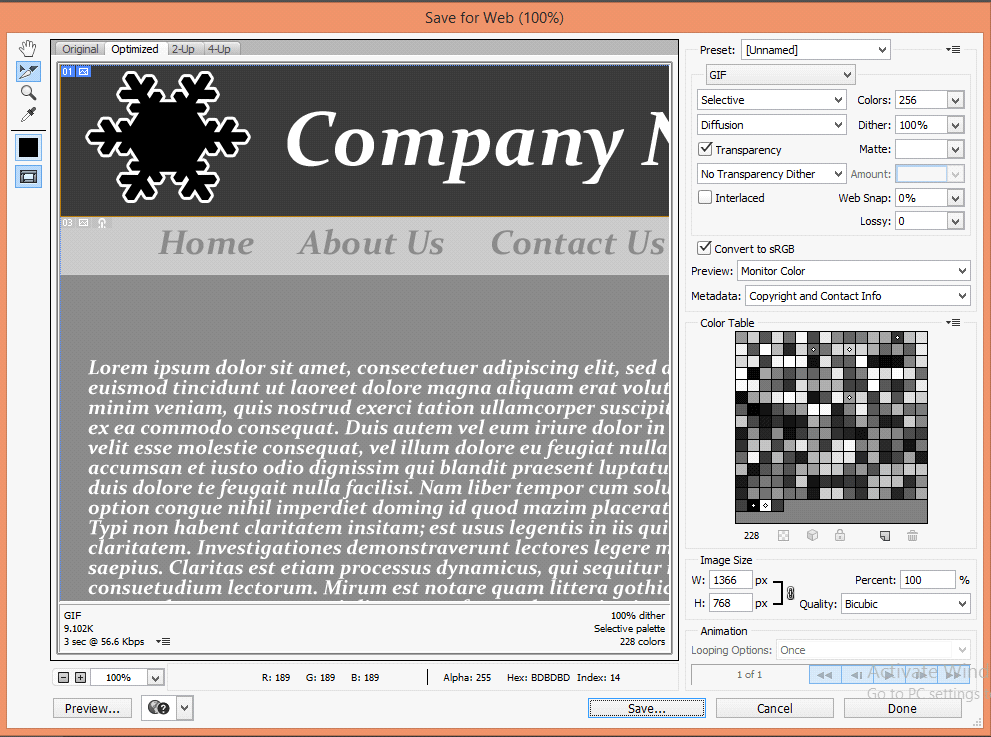
Now, one folder and one HTML file has been created wherein you can also see the sliced portions. I hope this blog is help you. Let me know if you have any question regarding Crop Tools in Photoshop please comment here. I will reply you ASAP
Got an Idea of Game Development? What are you still waiting for? Contact us now and see the Idea live soon. Our company has been named as one of the best Game Development Company in India.

I am game graphics designer at TheAppGuruz. I am designing graphics for 2d Games. Here I am sharing information about 2d graphics designing tips and tricks.
Creating Custom Packages in Laravel 4
