Objective
The main objective of this post is to help you work with Healing Brush Tool in Photoshop.
In game designing, the two options available for giving retouching effect to the game background are
- Healing Brush Tool
- Spot Healing Brush
There are no other tools available in Photoshop which can be used to remove unwanted objects.
Let us become more familiar with these two tools.
Step 1 Spot healing Brush Tool
Healing Brush is the default healing tool. Spot Healing Brush Tool is used to clone areas and quickly remove the blemishes from the image. The main difference between Spot Healing Brush and the normal healing brush is that the spot healing brush requires no source point. Whereas, the Healing Brush needs a source point.
First open the image which you want to edit from File > Open.
Select Spot Healing Tool from the left toolbar.
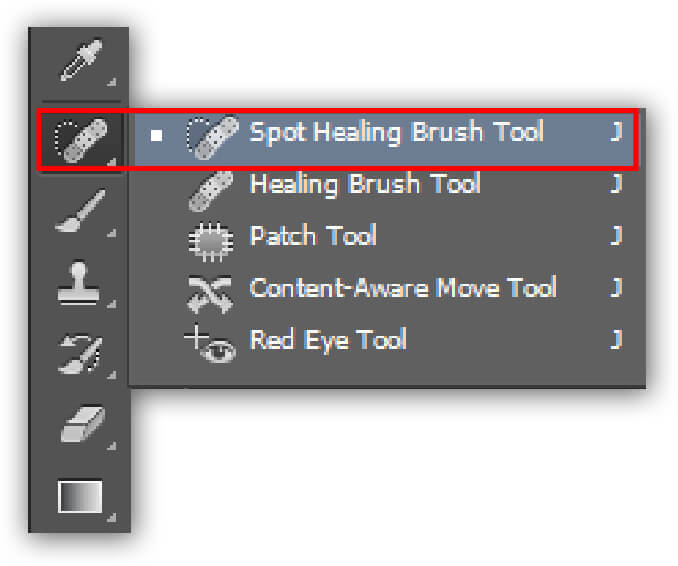
You may also select the tool by pressing J.
In the Options Bar, we would be able to see the brush, blending mode, type, etc… as shown below.

Click on the brush preset Picker. Select the appropriate brush and set the size, hardness and spacing Roundness.
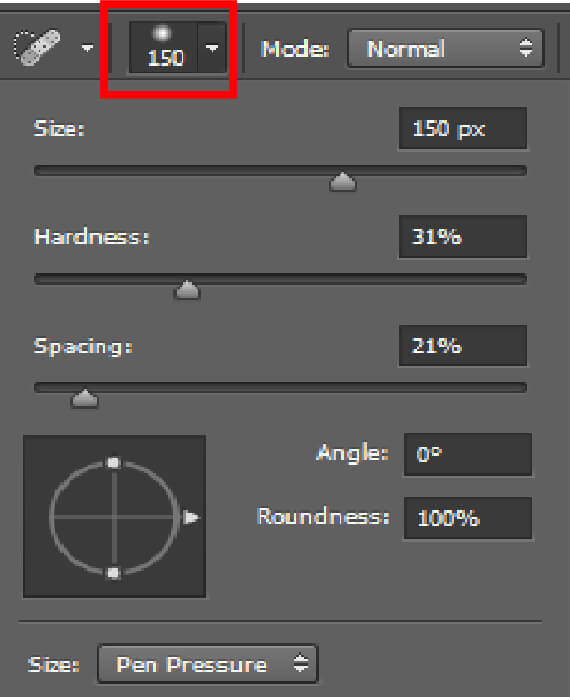
Then, Select the normal mode. There are 3 types in it.
1.1 Types For Spot Healing Brush

Proximity match
The Proximity Match type analyzes the picture pixel around the area where you are working. It then identifies the best area to sample the pixel information from the image area. Proximity match repairs and blends using actual pixels.
Create Texture
Create texture type is slightly different from the above type. It generates a texture pattern from the sample data. It blends using texture pattern.
Content – Aware
The content aware option compares and uses actual content from the image close to the image flaw. Use the Content-Aware option while removing large items like litter, scratch and other annoying elements on your image.
1.2 Apply Spot Healing Brush on Image
Here, I have opened one jpg image. Edit it with spot healing brush tool.
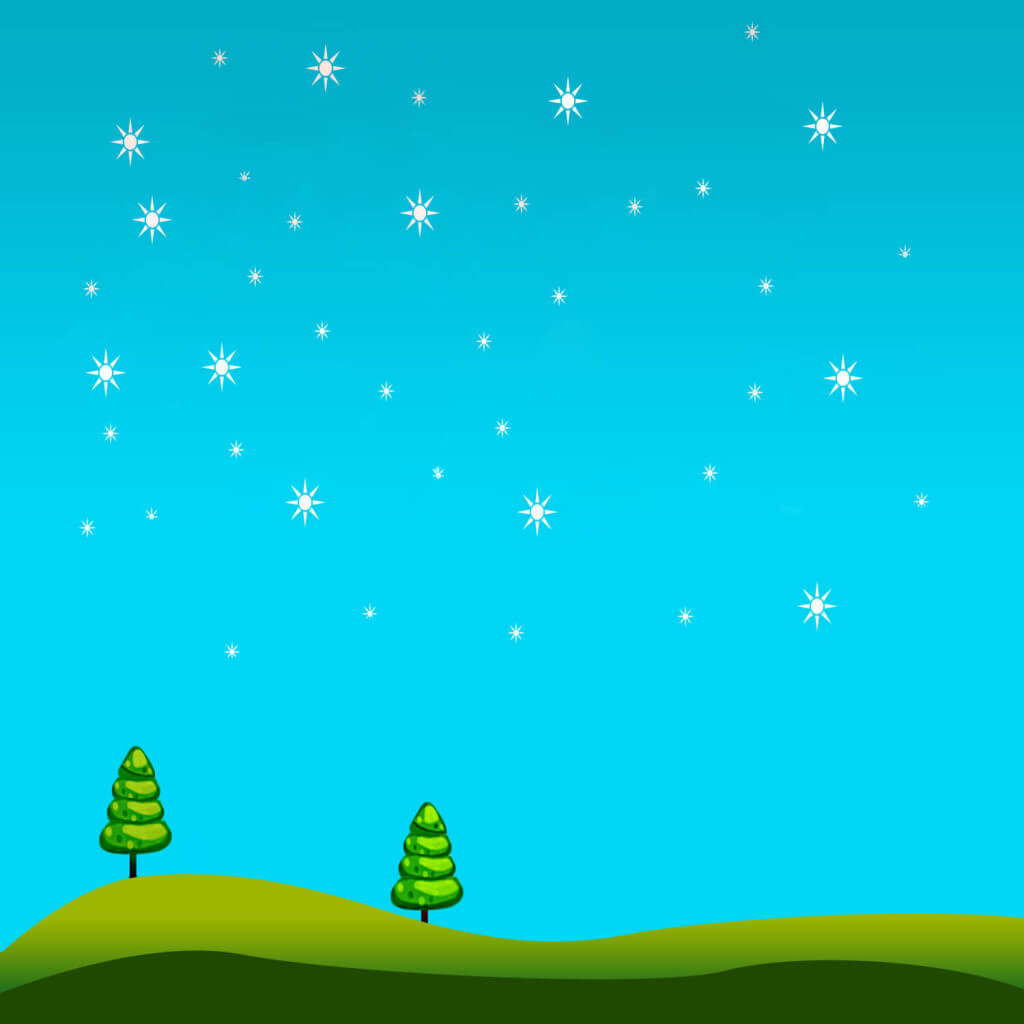
In the above image, there are white stars which I want to remove. For this purpose I’ll use the Spot Healing Brush tool.
Select the Healing brush tool. Select Content aware option from the option bar.

Then, set the Brush size according to the size of the star by using the [and] key from keyboard. Then, click and drag the brush on the star and release it. You will see that the star will be removed.
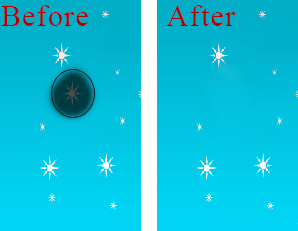
Remove all the stars using spot healing brush.
Step 2 Healing Brush Tool
Healing Brush Tool is similar to content-aware version of the clone stamp tool. It enables you to clone areas from an image and blend the pixels from the sample area seamlessly with the target area.
Select Healing Brush from the toolbar.
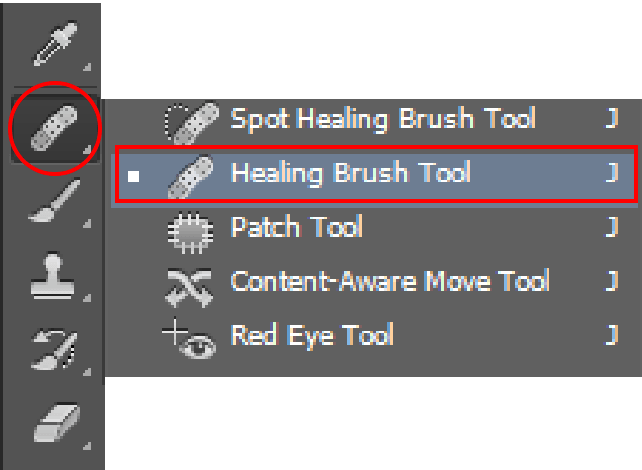
2.1 After selecting the Healing Brush you will see the following option bar.

Select the Brush and mode as you did previously in Spot Healing Tool.
There are 2 options: Sampled and Pattern.
Select the Sampled option. 
2.2 Apply Healing Brush on Image
Open the image.

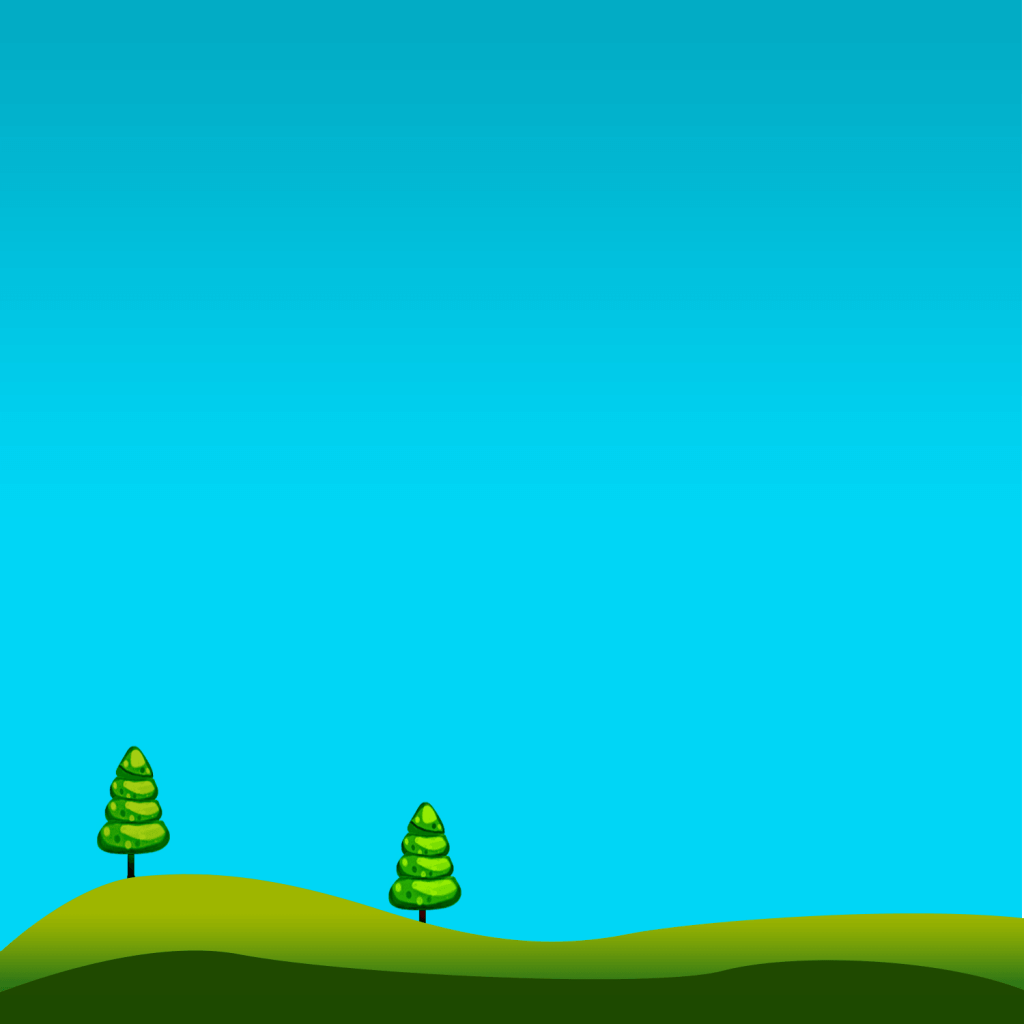
In the above image there are only 2 stars and I want more stars in the sky.
So for this purpose I’ll use the Healing Brush.
Here we’ve already selected the healing brush. So put your brush on star and using [ and ] key make your brush size as that of the star.
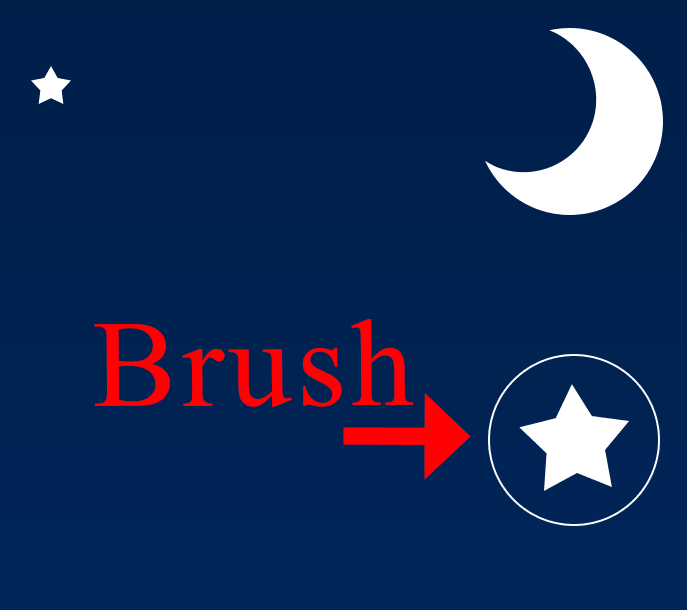
After that press Alt key and press the left mouse button. So, The brush will be changed as below.
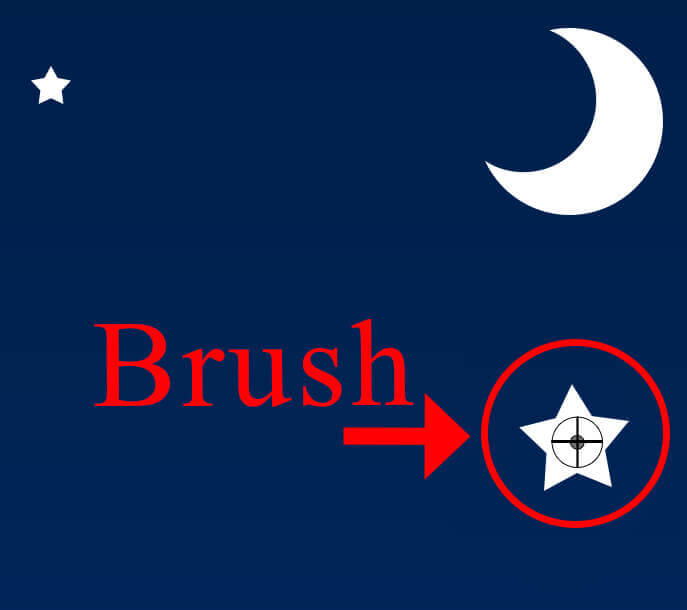
The Star is copied to the brush.
So wherever you want the star, click and hover the mouse and star will be created automatically. Same thing is done to create small stars.
After finishing you’ll be able to see an image as shown below.

I hope you find this blog post very helpful while Working with Healing Brush Tool in Photoshop. Let me know in comment if you have any question regarding Photoshop. I will reply you ASAP.
Got an Idea of Game Development? What are you still waiting for? Contact us now and see the Idea live soon. Our company has been named as one of the best Game Development Company in India.
Hi, I am 2D game graphics designer at TheAppGuruz. I love to share 2d graphics tips and tricks for making graphics looks awesome. Here I am sharing some helpful tips with you.
