Be patient..... we are fetching your source code.
Objective
The main objective of this post is to describe that how to overlay text on image.
You will get Final Output:

Introduction:
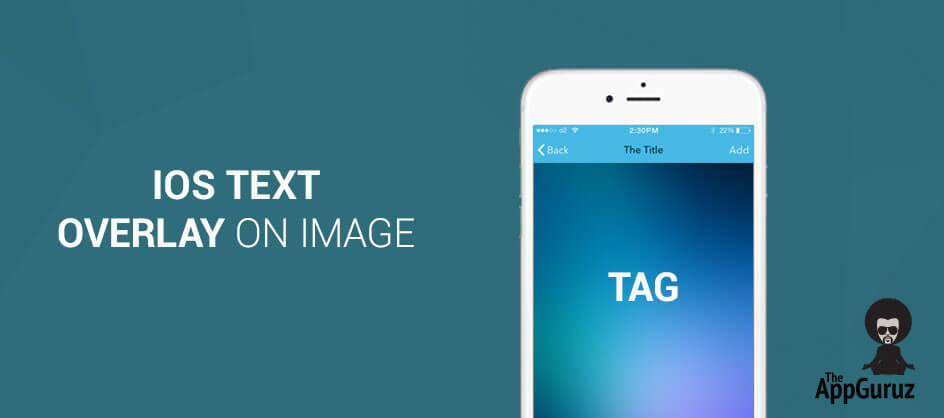
Here I am describing that how text can be overlay on stunning image in iOS which is basically needed in all graphics based application such as poster making, creating logo, generating watermark on image and also helpful in overlapping two images.
Following is a demo using which you can get better idea about text overlay on Image in iOS:
Step 1 Create XCode Project
For that you have to create one xCode project named it as Overlay_demo and saved it to particular. This project will contain one View Controller, which is our main view controller.
Step 2 DesignUI
For overlapping text on images you need one UIImageView in main view controller and set any image to it and set its mode as Aspect Fit. So your image will not stretch.
Step 3 Create Label & Add Gesture
Write following method in viewDidLoad() of main view controller.
- (void)viewDidLoad
{
[super viewDidLoad];
[imgeview setImage:[UIImage imageNamed:@"demo.png"]];
UILabel *myLabel = [[UILabel alloc] initWithFrame:CGRectMake(100, 100, 250, 40)];
myLabel.text = @"Hello There";
myLabel.textColor = [UIColor blackColor];
myLabel.font=[UIFont fontWithName:@"Marker Felt" size:35];
[imgeview addSubview:myLabel];
[imgeview setUserInteractionEnabled:YES];
[myLabel setUserInteractionEnabled:YES];
UIPanGestureRecognizer *panGesture = [[UIPanGestureRecognizer alloc] initWithTarget:self action:@selector(handlePanGesture:)];
[panGesture setMinimumNumberOfTouches:1];
[panGesture setMaximumNumberOfTouches:1];

[myLabel addGestureRecognizer:panGesture];
panGesture = nil;
}
In above code , we are adding one label to UIImageView which is already available in our main view controller, add pan gesture to it and define appropriate selector method regarding to it.
You have to set userInteraction enabled for both UIImageView and UILabel which is defoned as above.
Step 4 Handle Gesture
Selector method for pan gesture define as per following which allows you to move label around image.
-(void)handlePanGesture:(id)sender
{
CGPoint translatedPoint = [(UIPanGestureRecognizer*)sender translationInView:self.view];
if([(UIPanGestureRecognizer*)sender state] == UIGestureRecognizerStateBegan) {
firstX = [[sender view] center].x;
firstY = [[sender view] center].y;
}
translatedPoint = CGPointMake(firstX+translatedPoint.x, firstY+translatedPoint.y);
[[sender view] setCenter:translatedPoint];
}
Step 5 Create Image on Gesture
Add one button to main view controller to handle capturing of overlapping text with image. When button clicked image along with overlapped text will be save as single image in your photo album.
Following method will handle button click event for that:
- (IBAction)btnCaptureImageClicked:(id)sender
{
[self createImage:imgeview];
}

-(UIImage *)createImage:(UIImageView *)imgView
{
UIGraphicsBeginImageContextWithOptions(imgeview.bounds.size, NO, 0);
CGContextRef context = UIGraphicsGetCurrentContext();
[imgeview.layer renderInContext:context];
UIImage *imgs = UIGraphicsGetImageFromCurrentImageContext();
UIGraphicsEndImageContext();
UIImageWriteToSavedPhotosAlbum(imgs, nil, nil, nil);
return imgs;
}
If you have got any query related to text overlay on image in iOS then comment them below we will try to solve them out.
Got an Idea of iPhone App Development? What are you still waiting for? Contact us now and see the Idea live soon. Our company has been named as one of the best iPhone App Development Company in India.

I am iOS developer, as a developer my basic goal is continue to learn and improve my development skills , to make application more user friendly.
Android - How to use Custom Font
iOS - Social & MessageUI Framework
