Be patient..... we are fetching your source code.
Objective
The main objective of this post is to describe that how sliding of view controller works in iOS.
You will get Final Output:
Following are the steps that give you a brief introduction to use sliding functionality for view controller for interactive application.
Step 1 App Flow
This app consists of three screens:
- Home
- Settings
- Menu
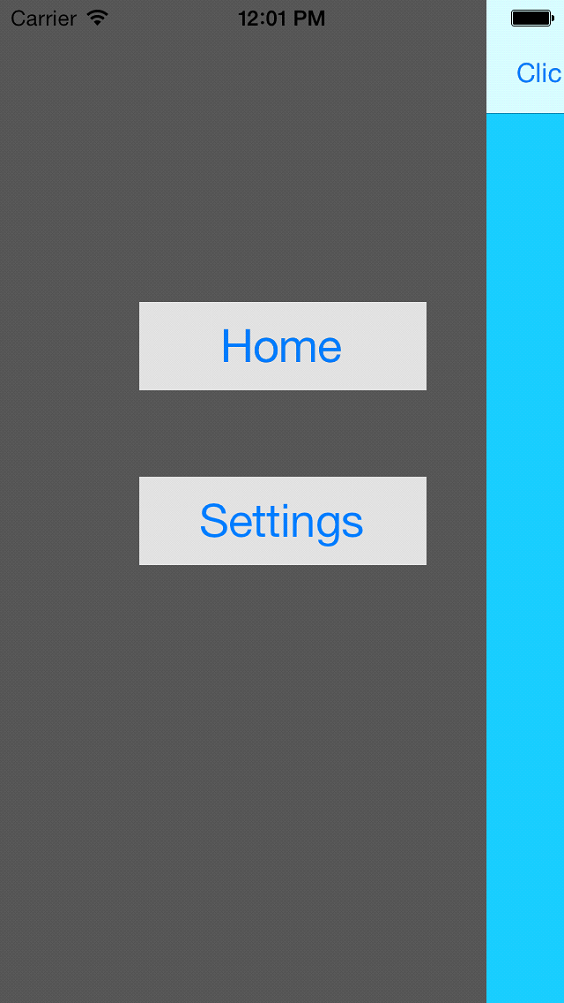
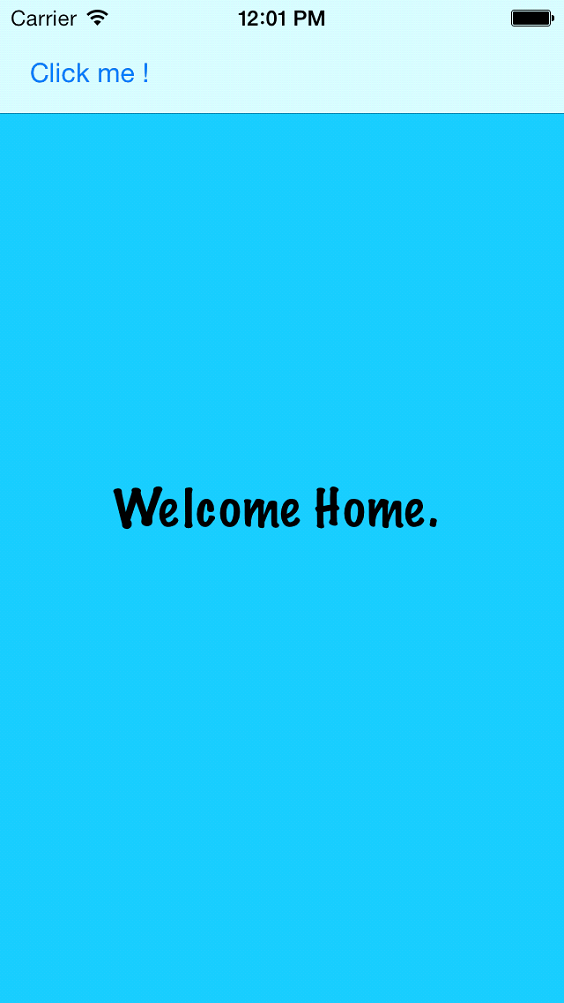
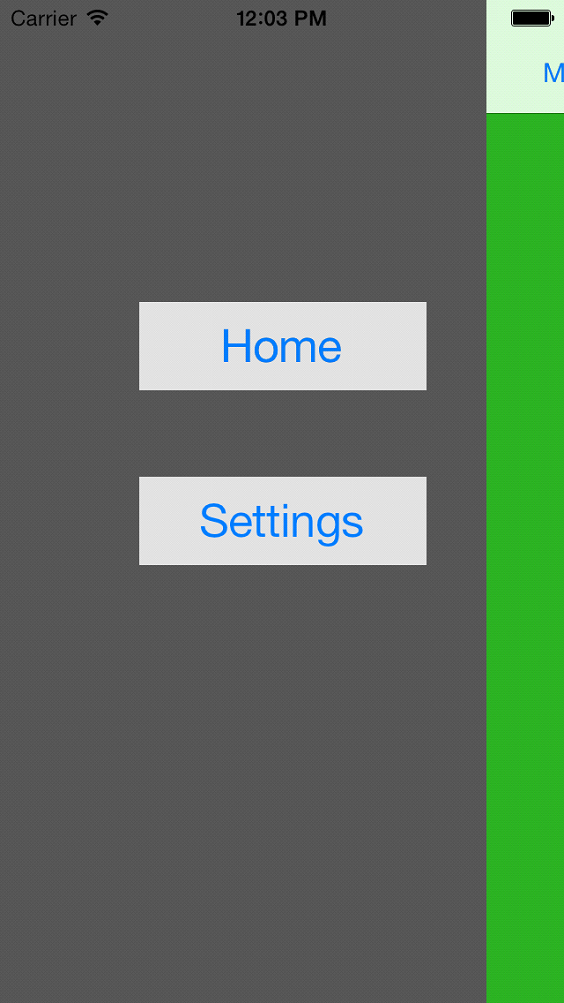
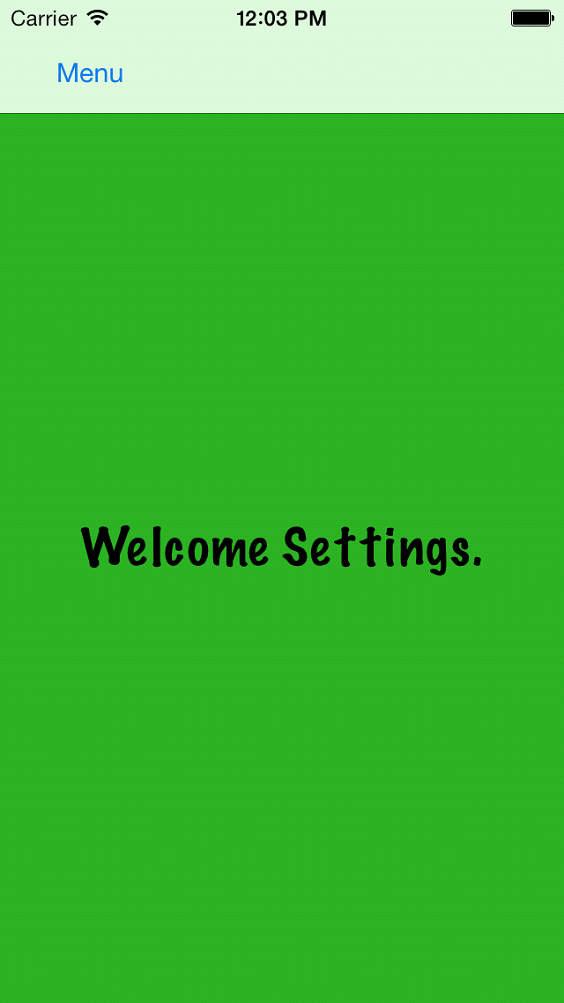
Tapping the Click me! Button anchors the top view to the right to show the menu. From there, you can tap on Home or Settings to reset the top view to the middle while changing the top view controller. This example is also a good representation of the defaults used with ECSlidingViewController. This was made almost entirely in Storyboards except for the unwind segue. It may be difficult to see how the view controllers are related.
Step 2 Design UI & Set Parameters
Select the sliding view controller in the Storyboard and click on the identity inspector.
You should see the following:
The sliding view controller needs to know which view controllers to load initially when it is loaded. This is done in the User Defined Runtime Attributes. We set the topViewControllerStoryboardId to the string value HomeNavigationController. This will set the sliding view controller's topViewController to a view controller in Storyboard with the Storyboard ID HomeNavigationController.
The same thing is done to set the underLeftViewController to the MenuViewController. You should be able to find the navigation controller with the Storyboard ID HomeNavigationController and the table view controller with the Storyboard ID MenuViewController.
Step 3 Download ThirdParty from GitHub
Both the Home and Settings view controllers have a menu button which causes the top view to slide to the right and show the menu. This is accomplished with an unwind segue. Make this connection by CTRL-dragging from the menu button down to the green exit symbol.
Select unwindToMenuViewController: To unwind to the menu.
The unwind segue will detect that the current underLeftViewController instance is of the same type as the destination of the unwind segue. This will trigger a anchorTopViewToRightAnimated: on the sliding view controller. If the current under right view controller was the same type as the destination, then it will trigger an anchor to the left side instead.
You can find more interactive examples regarding to transition and overall layout of sliding view controller from following two available links:
- https://github.com/ECSlidingViewController/ECSlidingViewController/tree/master/Examples/LayoutDemo
- https://github.com/ECSlidingViewController/ECSlidingViewController/tree/master/Examples/TransitionFun
If you got any query related to using slider view controller in iOS comment them below. We will try to solve them out.
Got an Idea of iPhone App Development? What are you still waiting for? Contact us now and see the Idea live soon. Our company has been named as one of the best iPhone App Development Company in India.

An entrepreneur who has founded 2 flourishing software firms in 7 years, Tejas is keen to understand everything about gaming - from the business dynamics to awesome designs to gamer psychology. As the founder-CEO of a company that has released some very successful games, he knows a thing or two about gaming. He shares his knowledge through blogs and talks that he gets invited to.
